Instruction Ajax Filter for Opencart1.5
INSTRUCTION AJAX FILTER FOR OPENCART 1.5
Download and install
Download the plugin archive from the Shop Pinta store and save it on your computer.
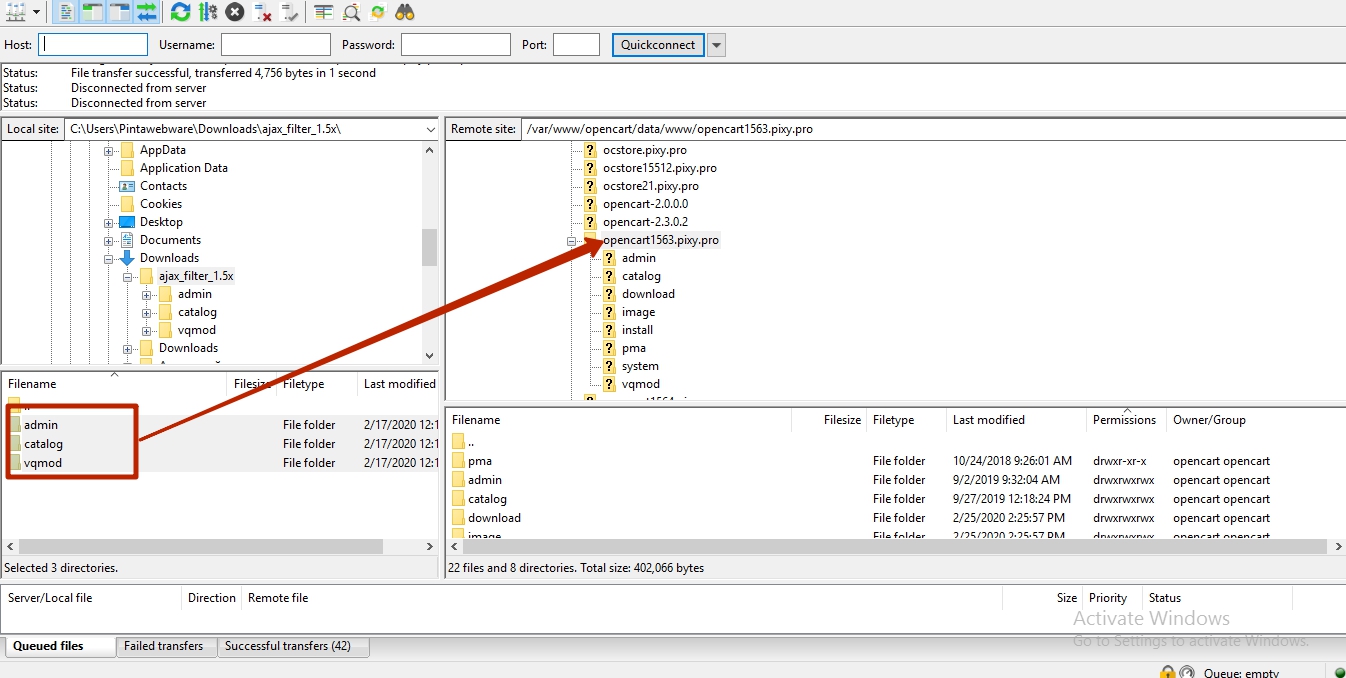
Connect via FTP to your website and copy the contents to the root folder of your website.
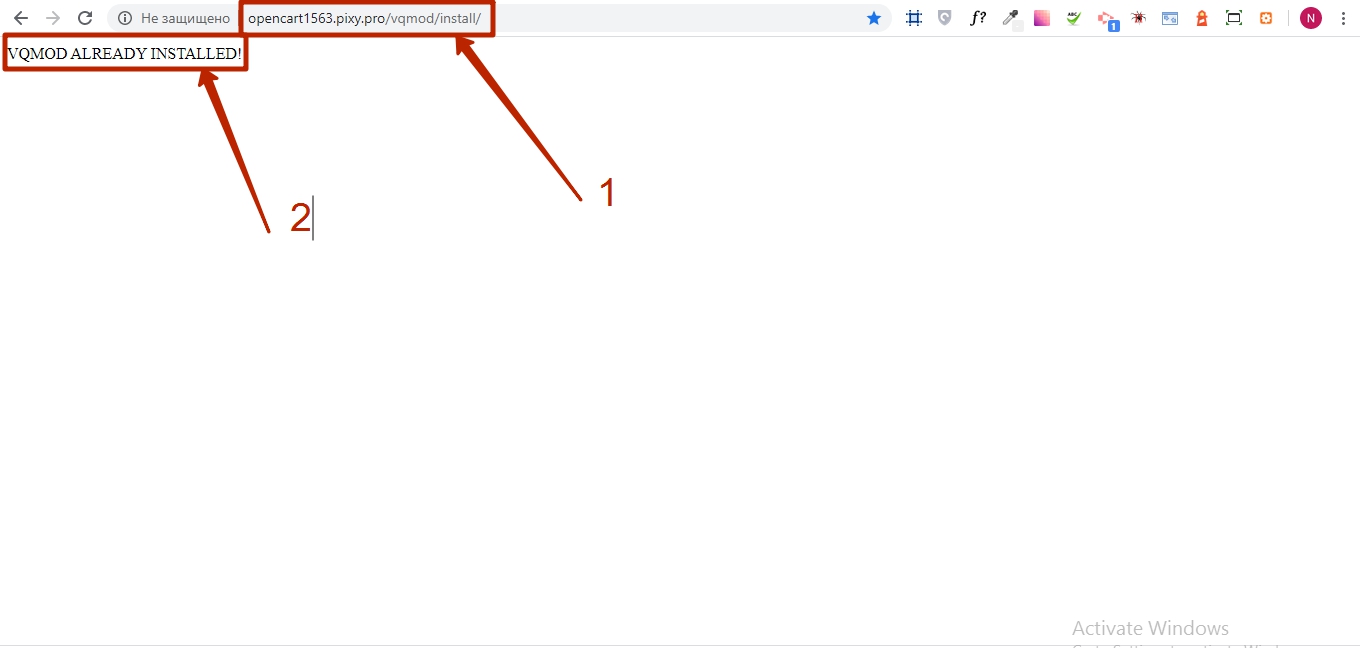
In the new browser window, enter the command (1) in the address bar: the addresses of your website/vqmod/install/, press Enter.
Result: The message (2) “VQMOD ALREADY INSTALLED!” is displayed.
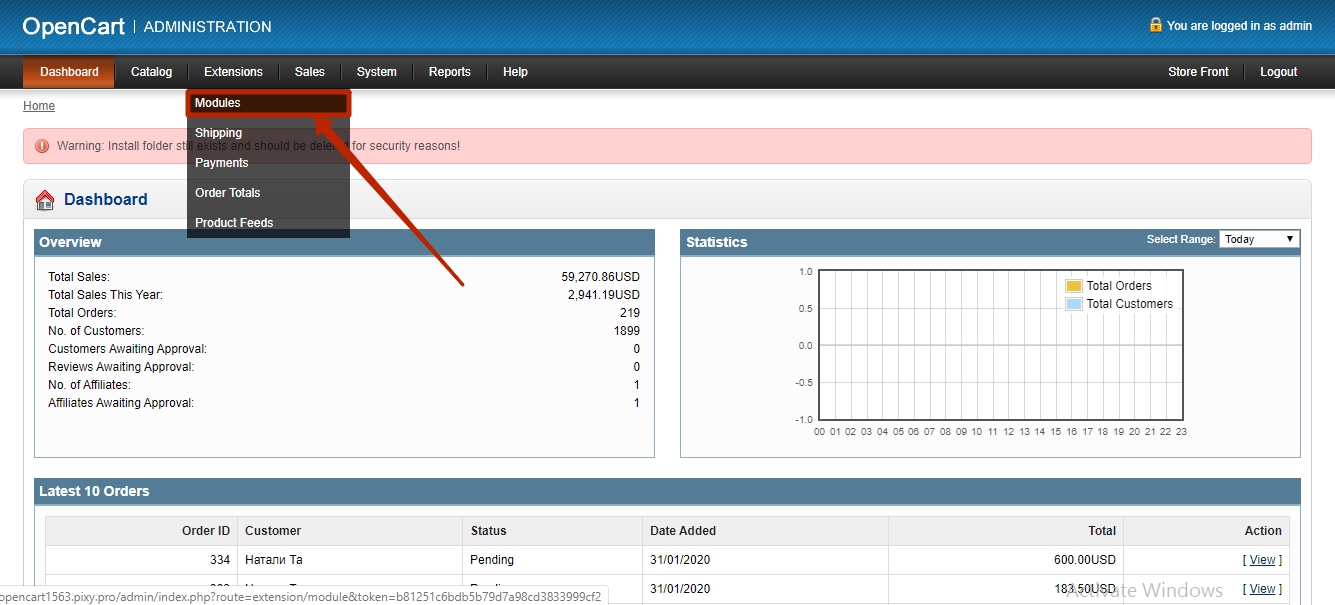
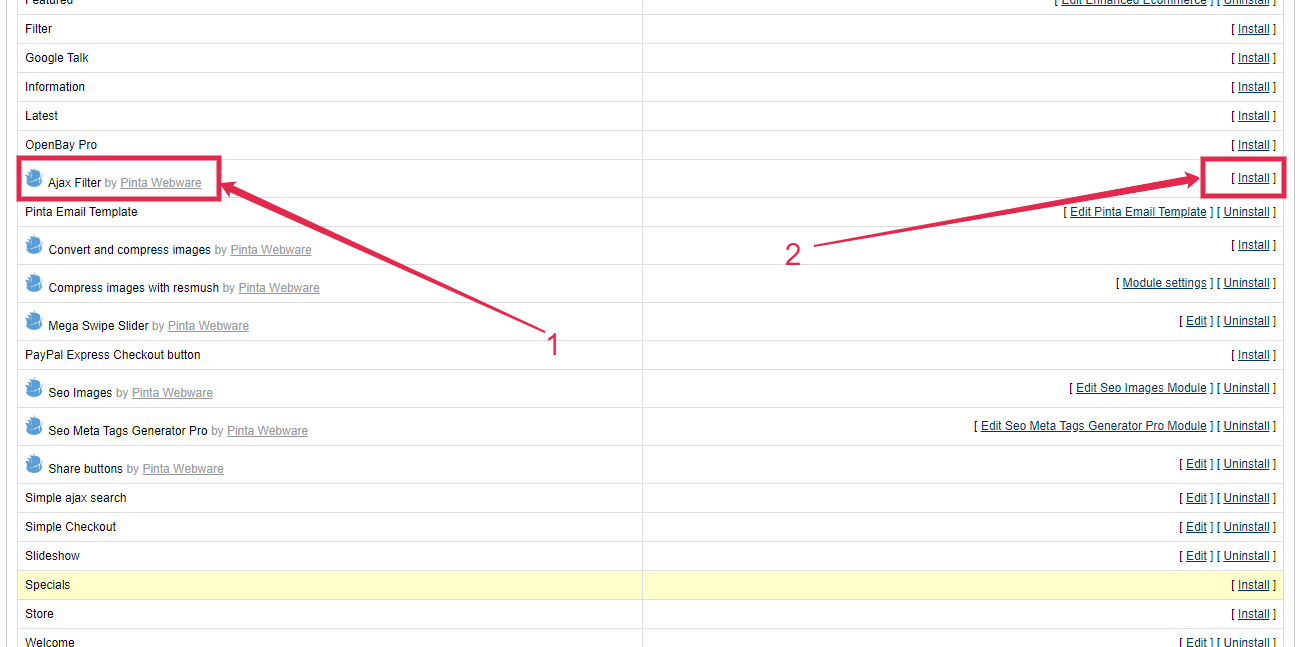
Go to the Modules subcategory.
Find the Ajax Filter plugin (1) and click the Install button (2).
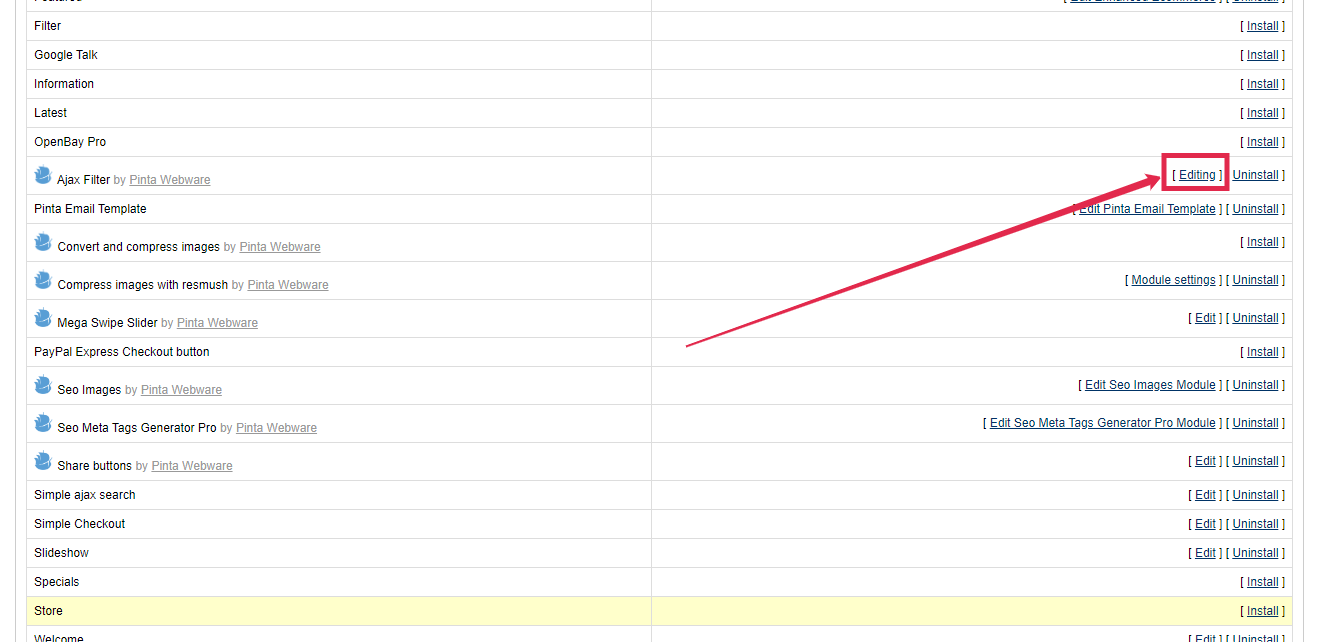
To configure the plugin, click the Editing button.
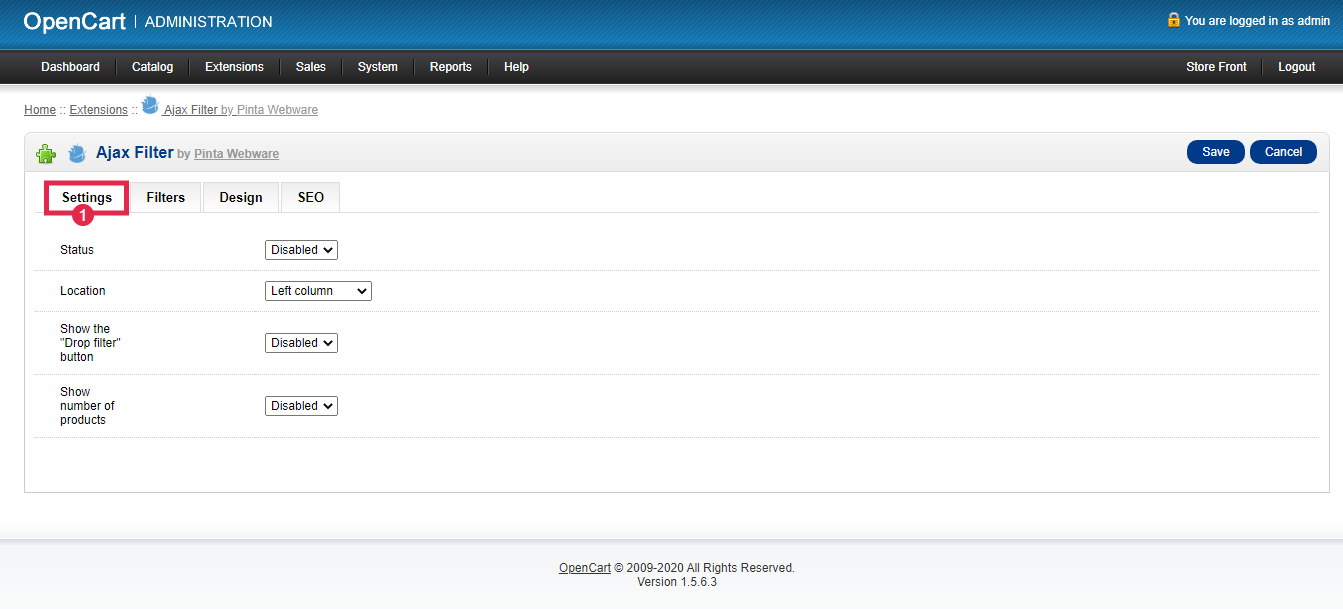
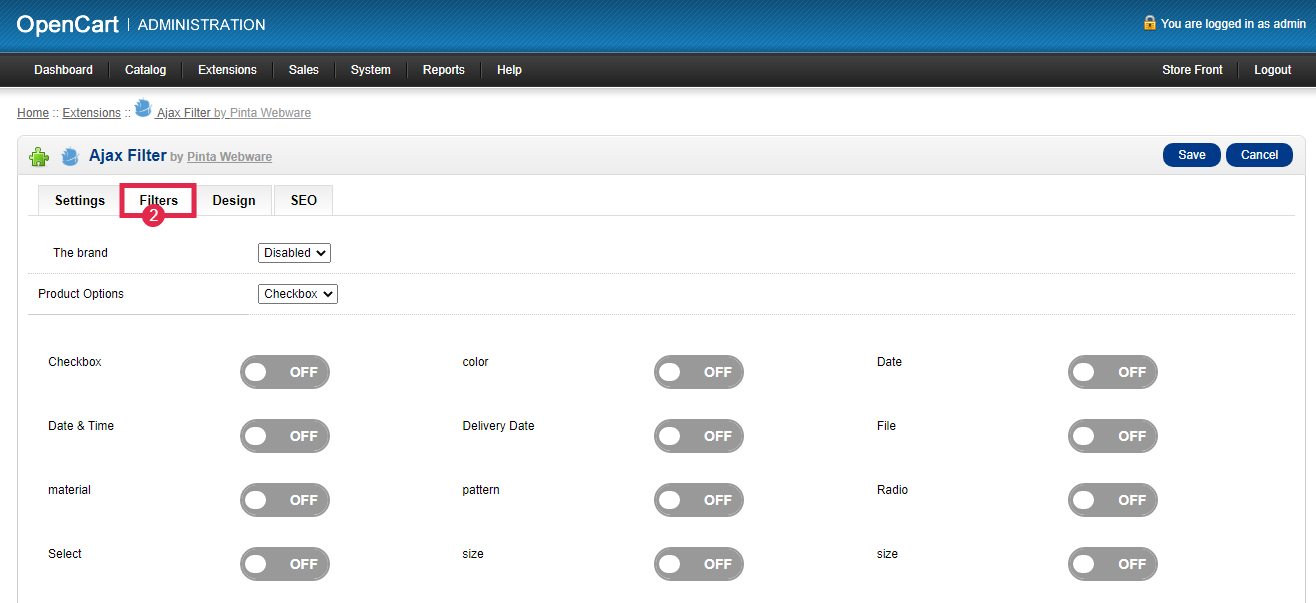
Plugin page
The plugin page consists of:
The Settings tab.
The Filters tab.
The Design tab.
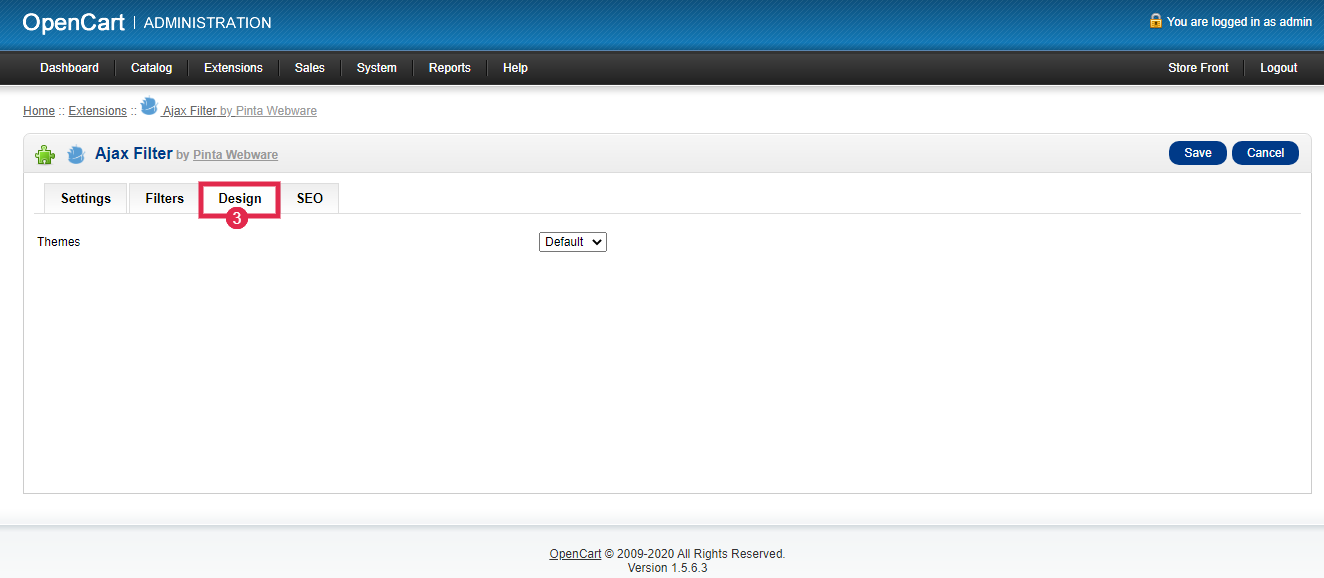
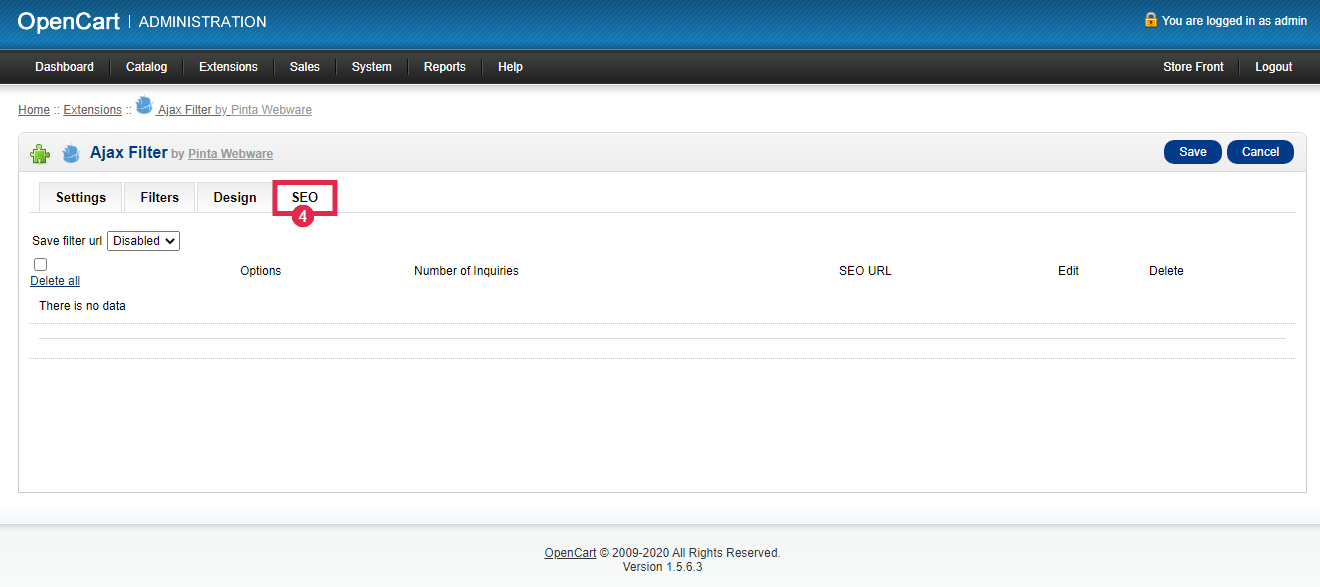
The SEO tab.
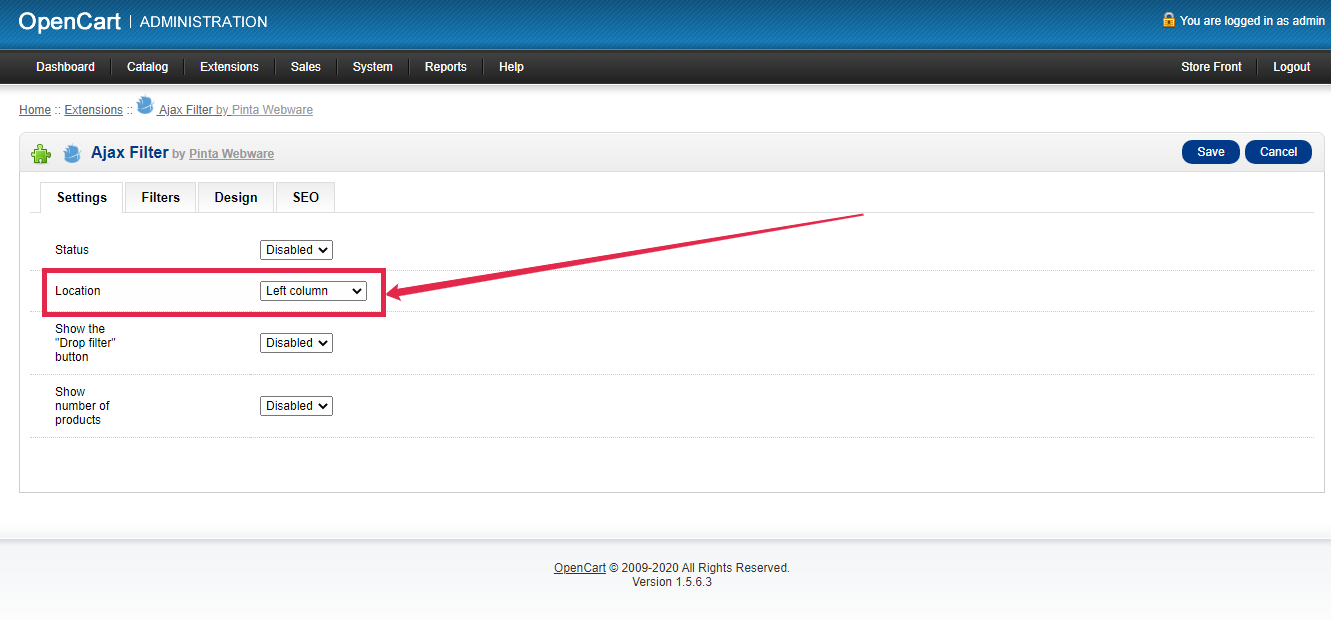
The Settings tab includes:
The Status field - to enable / disable the plugin (position Enabled / Disabled).
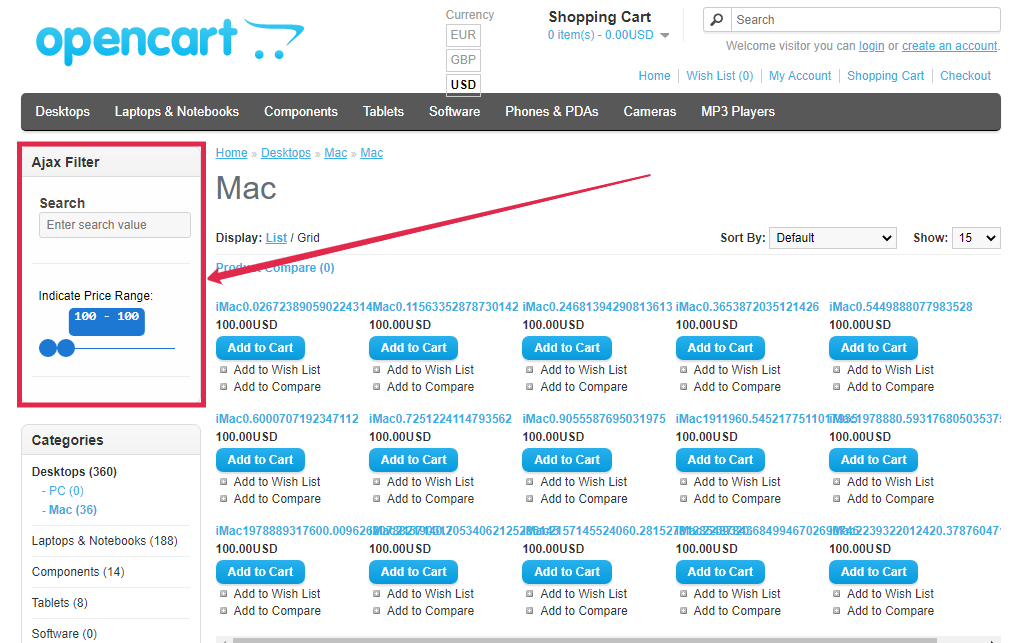
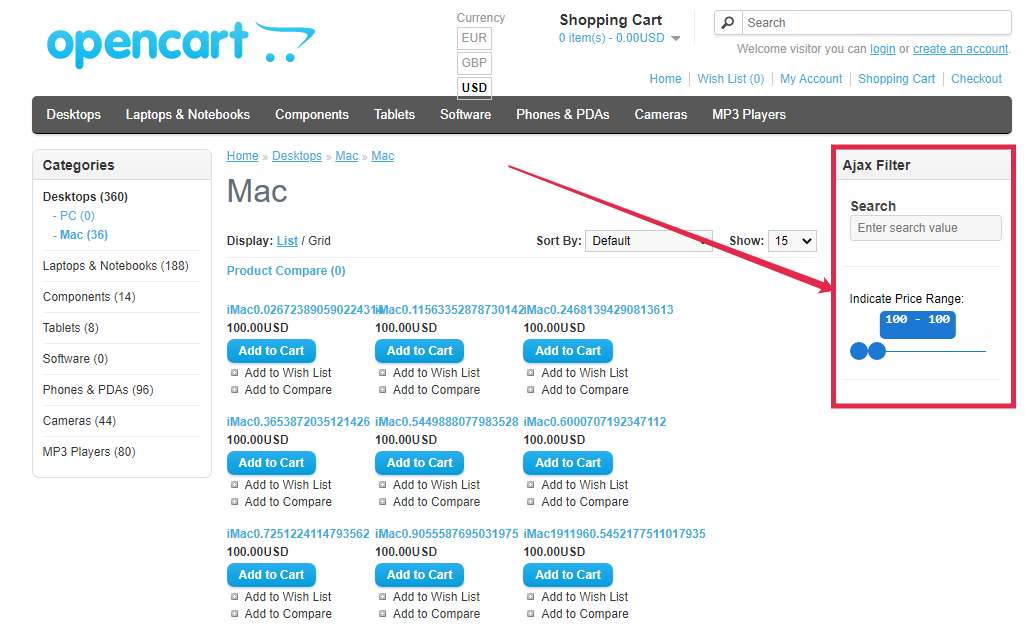
The Location field - to select the filter location on the website page.
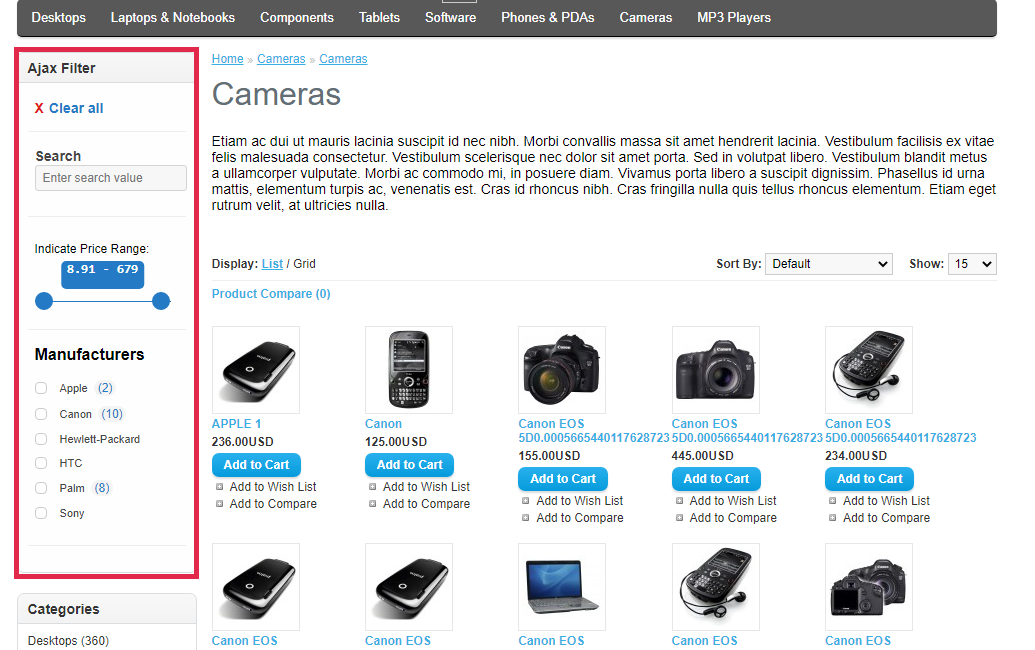
Examples of the filter location on the website pages:
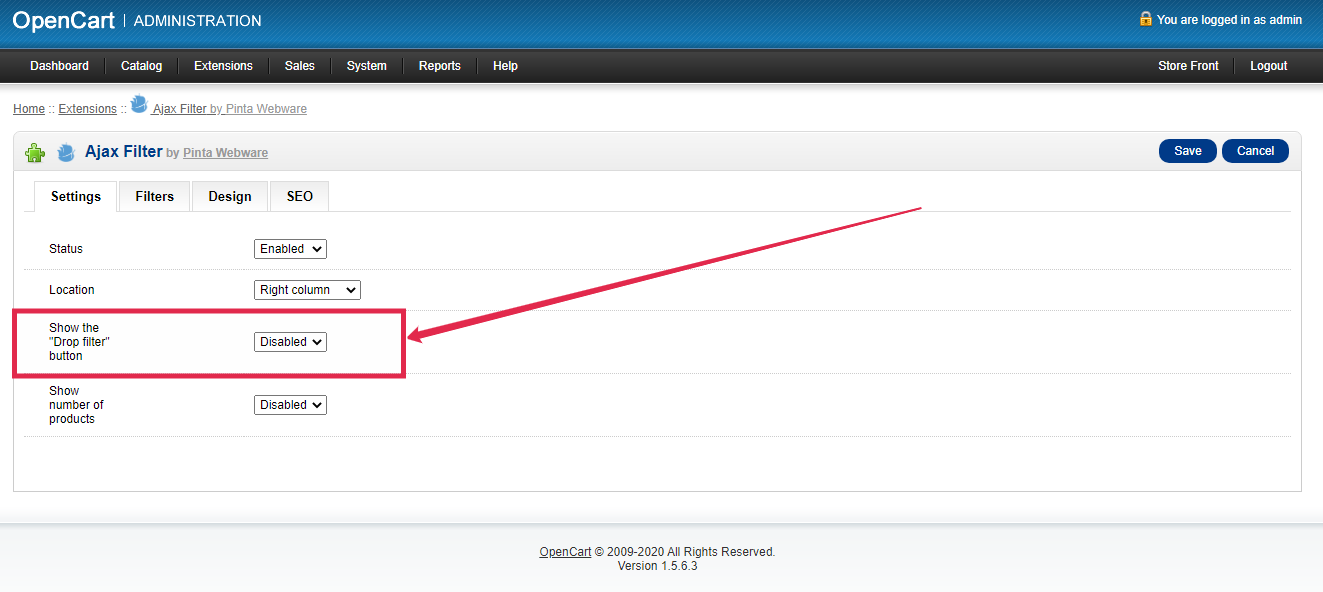
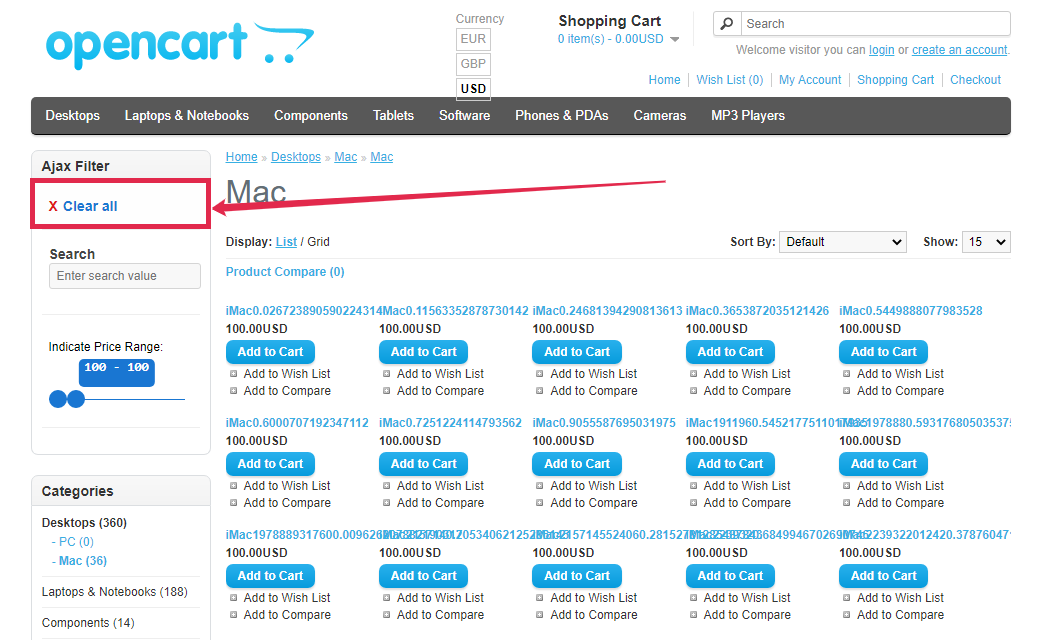
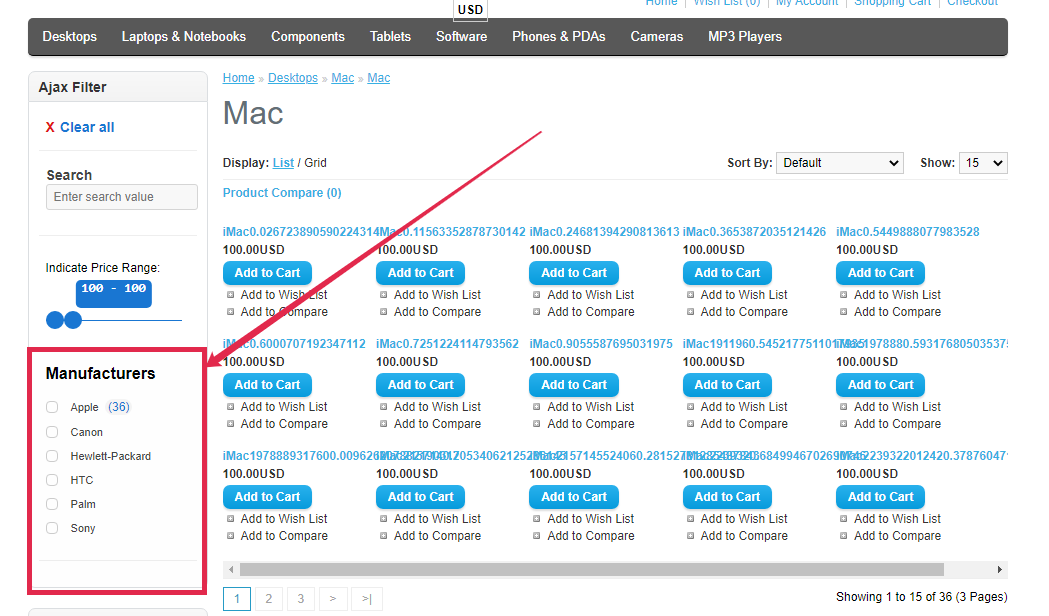
The Show the "Drop filter" button field - to enable / disable the display of the Clear all button (position Enabled / Disabled). Using it, you can cancel the parameters selected for the filter and choose others.
Display on the website:
The Show number of products field - to enable / disable the display of the product number corresponding to the filter options (position Enabled / Disabled).
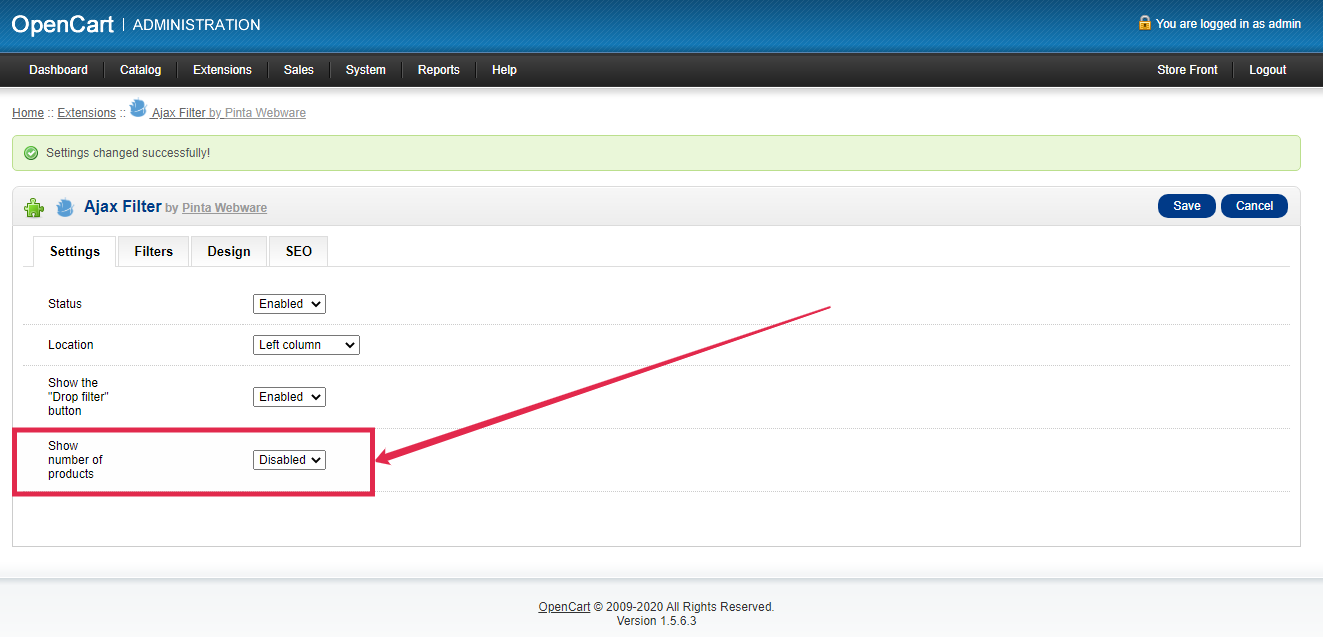
Display on the website:
The Filters tab includes:
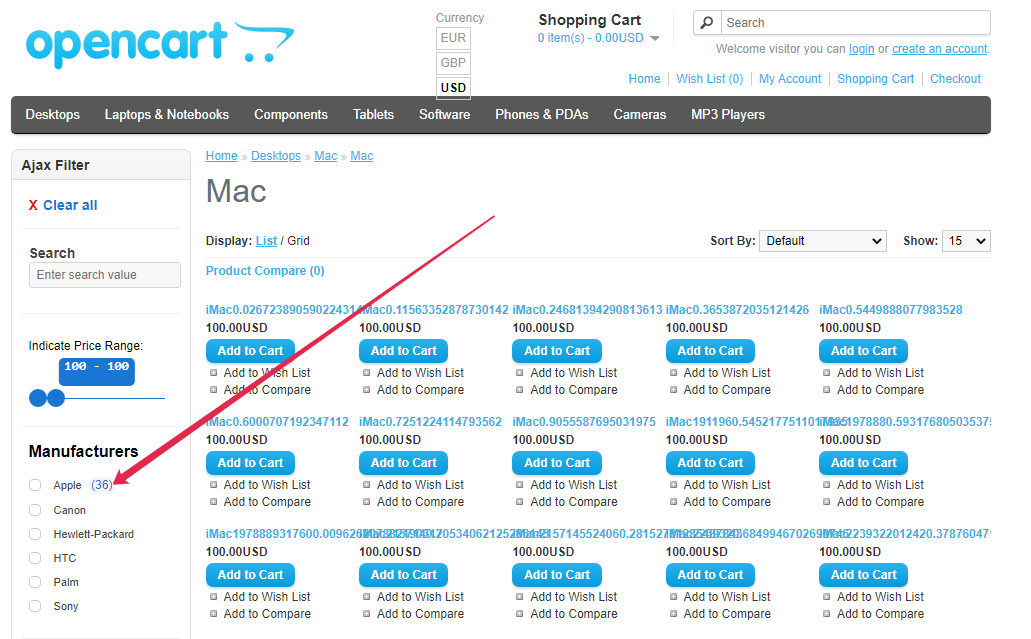
The brand block - to add product filtering by manufacturer (position Enabled / Disabled).

Display on the website:
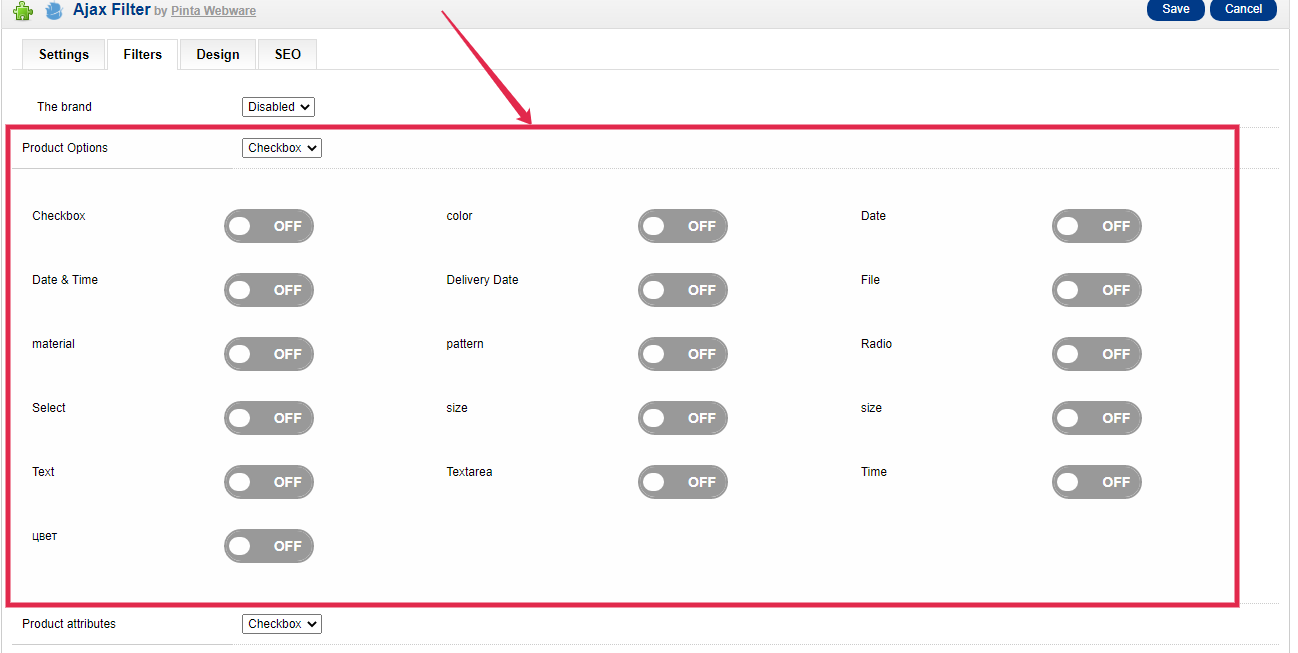
The Product Options block - to add filtering by product options.
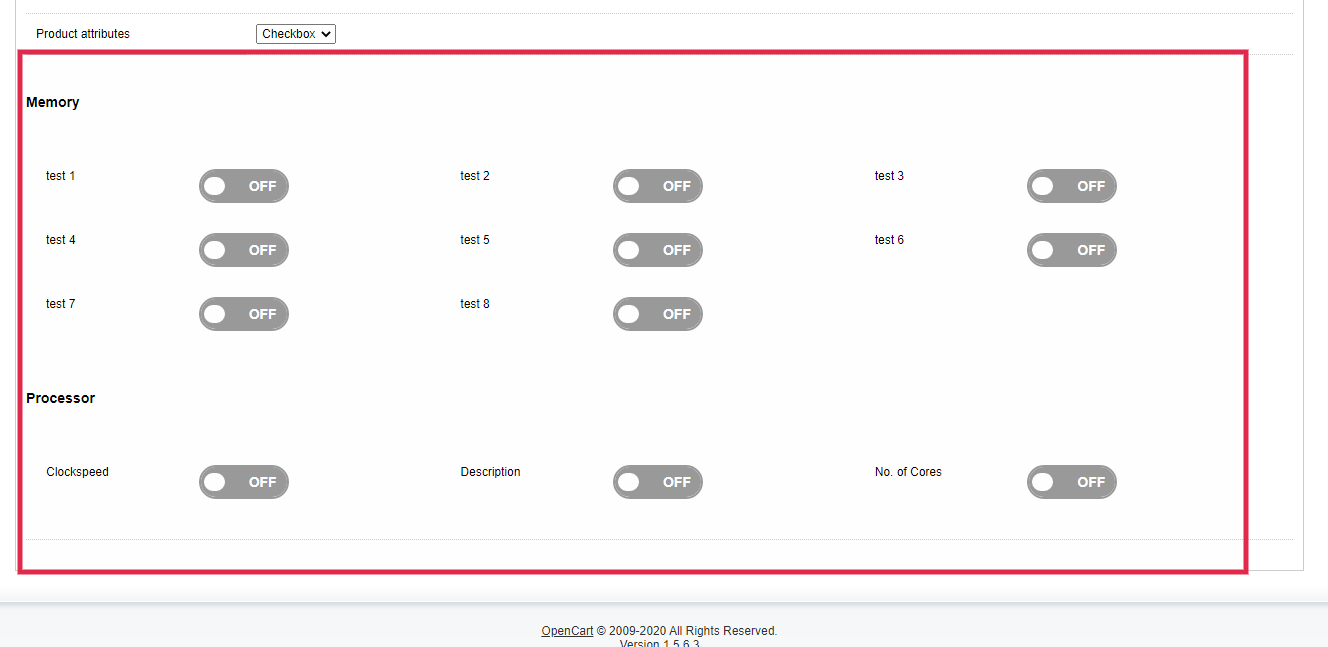
The Product attributes block - to add filtering by product attributes.
The Design tab allows you to select the color theme of the filter. To do this, select a standard color in the Themes field.
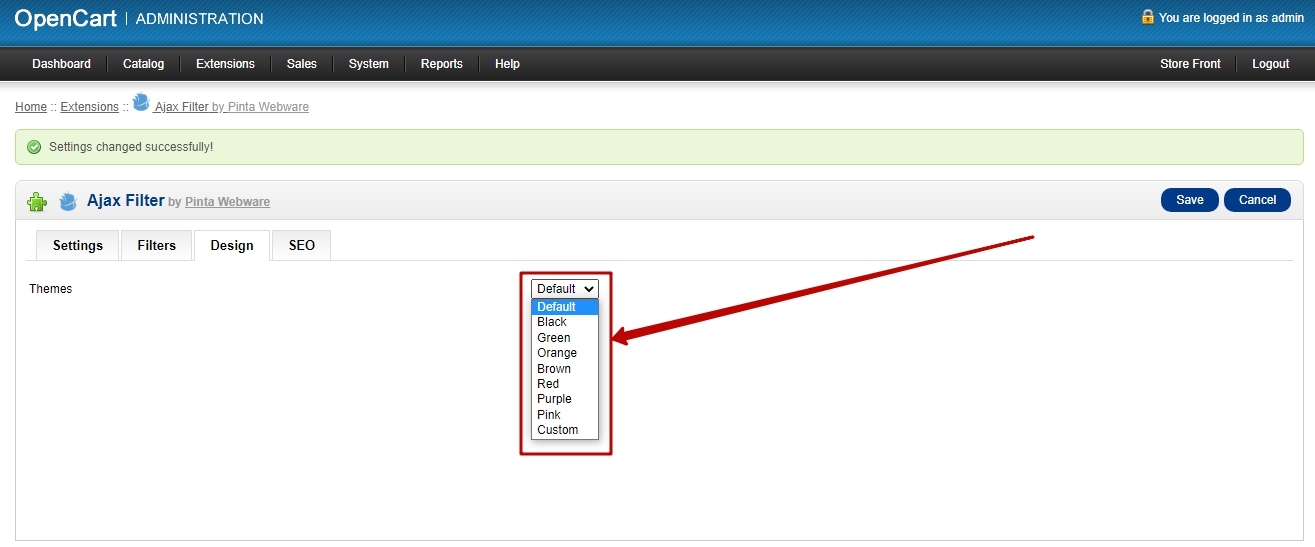
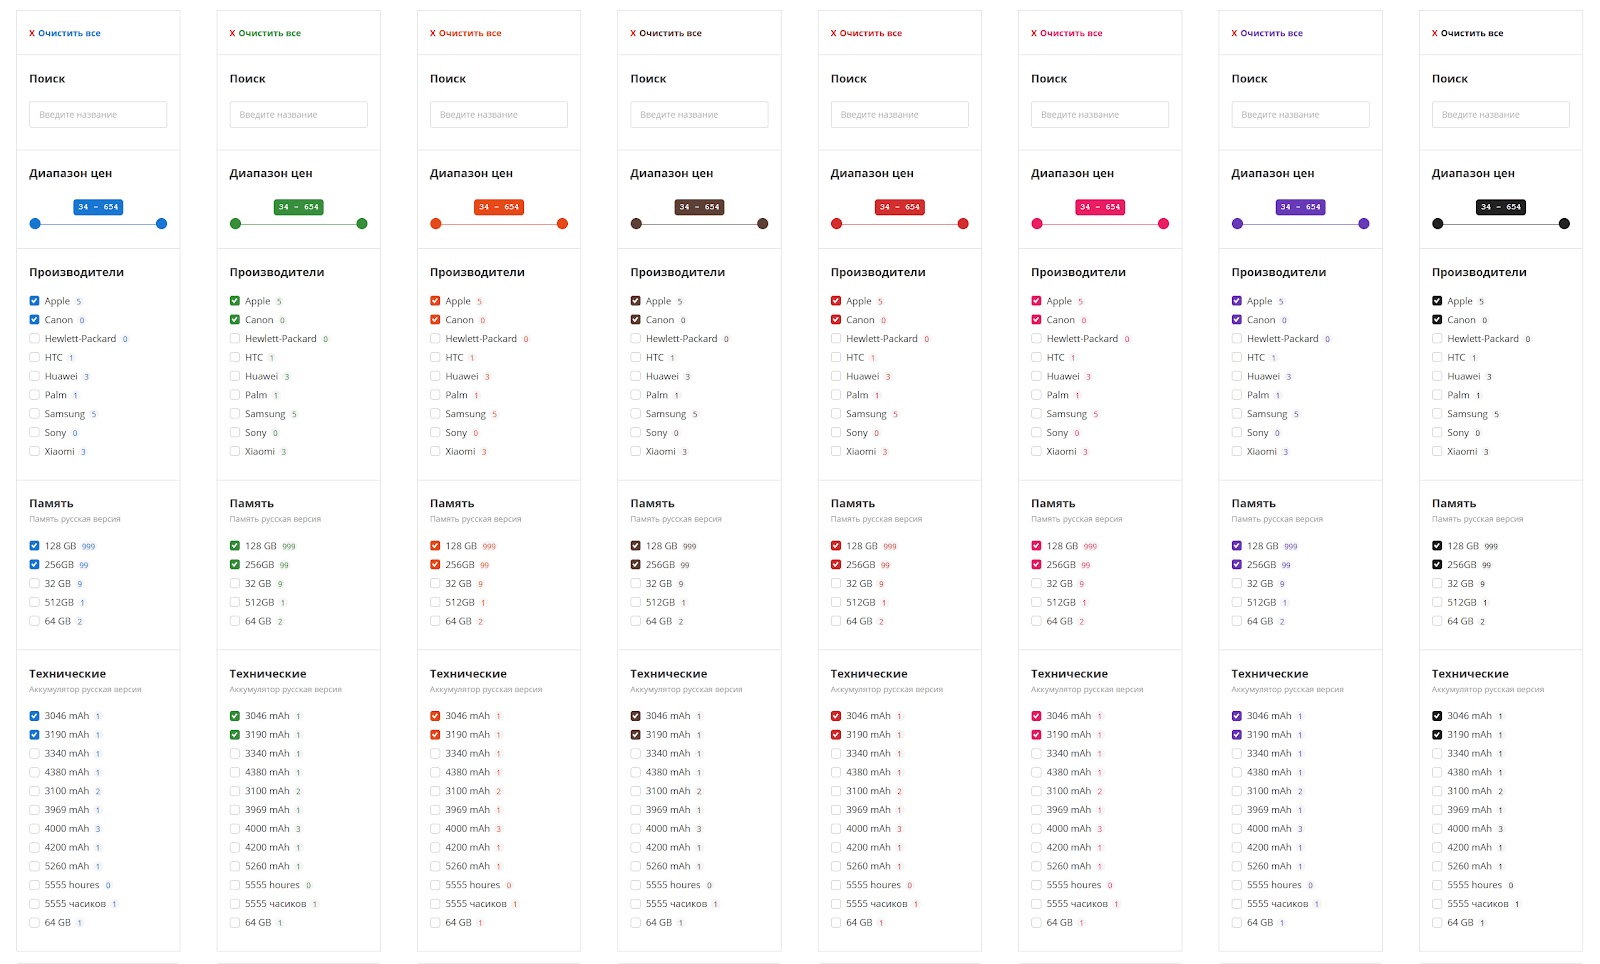
The filter has various styles:
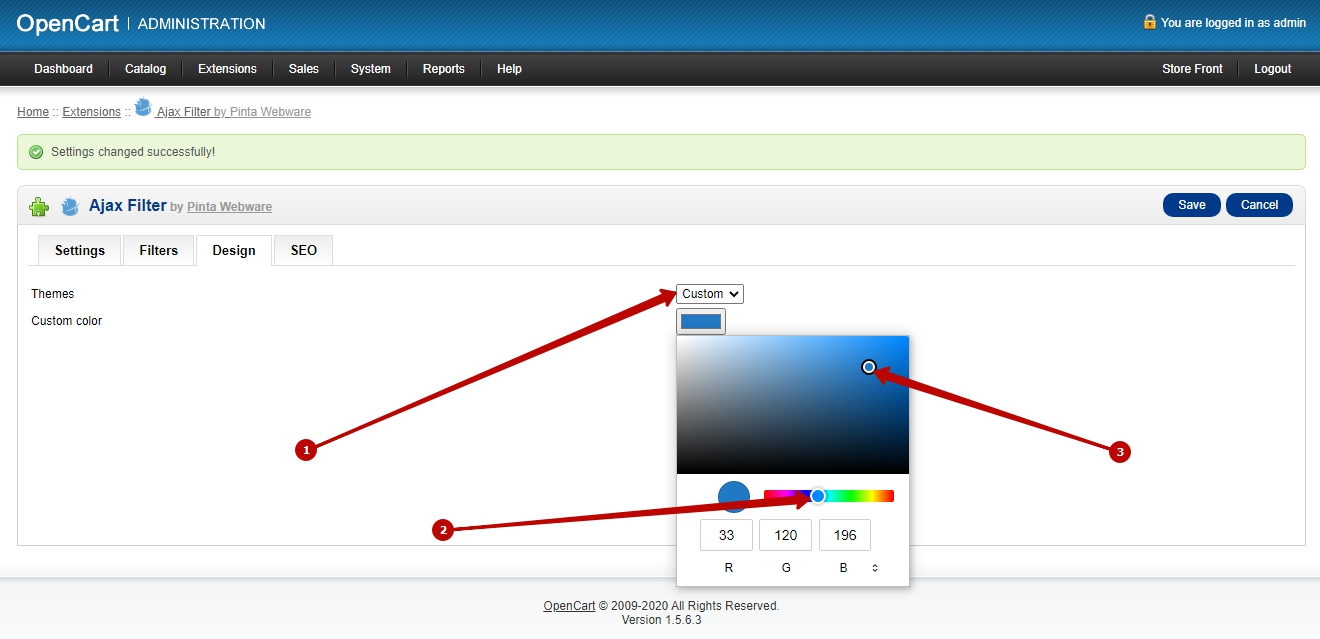
You can also use a filter color that differs from the standard themes.
To do this, in the Themes field (1) select the Custom option. Next, in the Custom color field (2) that appears, select the desired color (3).
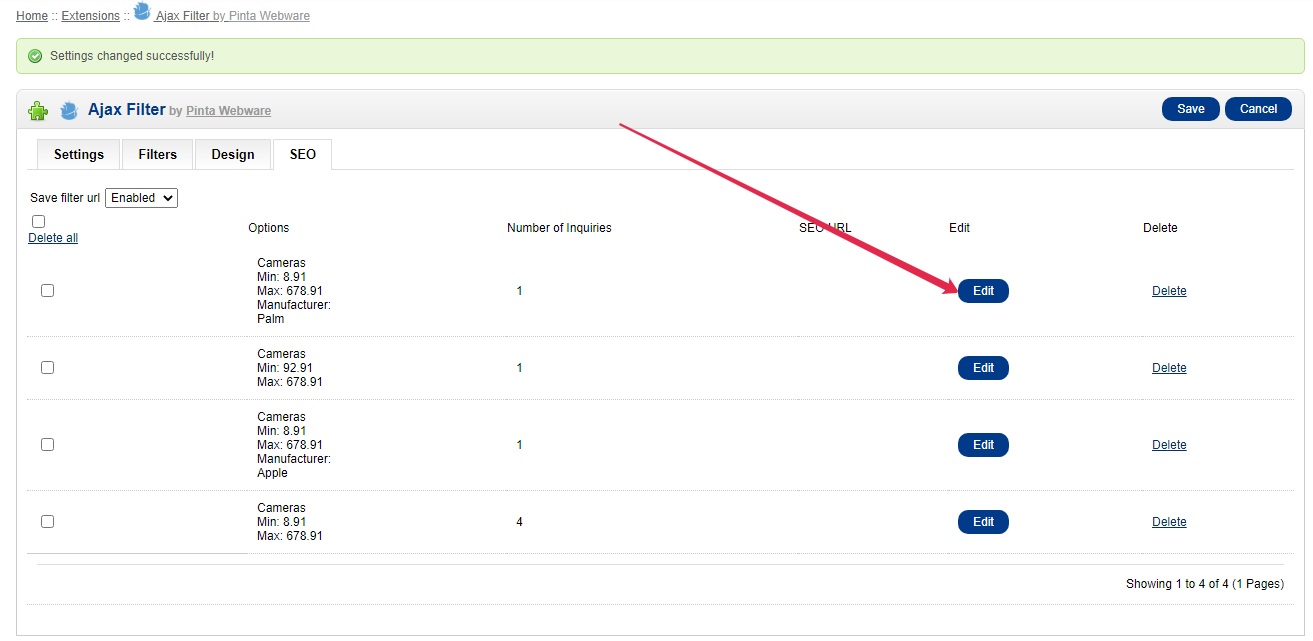
The SEO tab consists of:
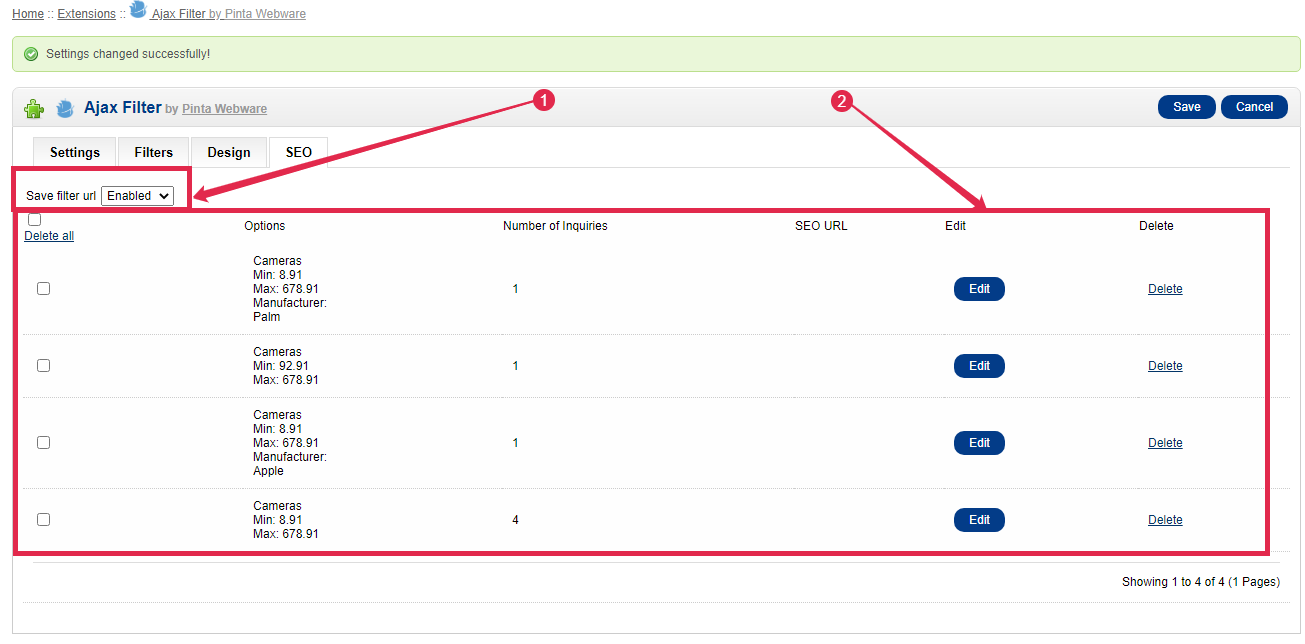
The Save filter url field (1) - to save the history of filter URL requests (position Enabled / Disabled).
The history of the filter URL requests as a table with the filter parameters (2):
product options,
number of requests,
SEO name,
the Edit button - to edit SEO data,
the Delete button - to delete data from the table.
To edit the SEO data for the filter page, click the Edit button.
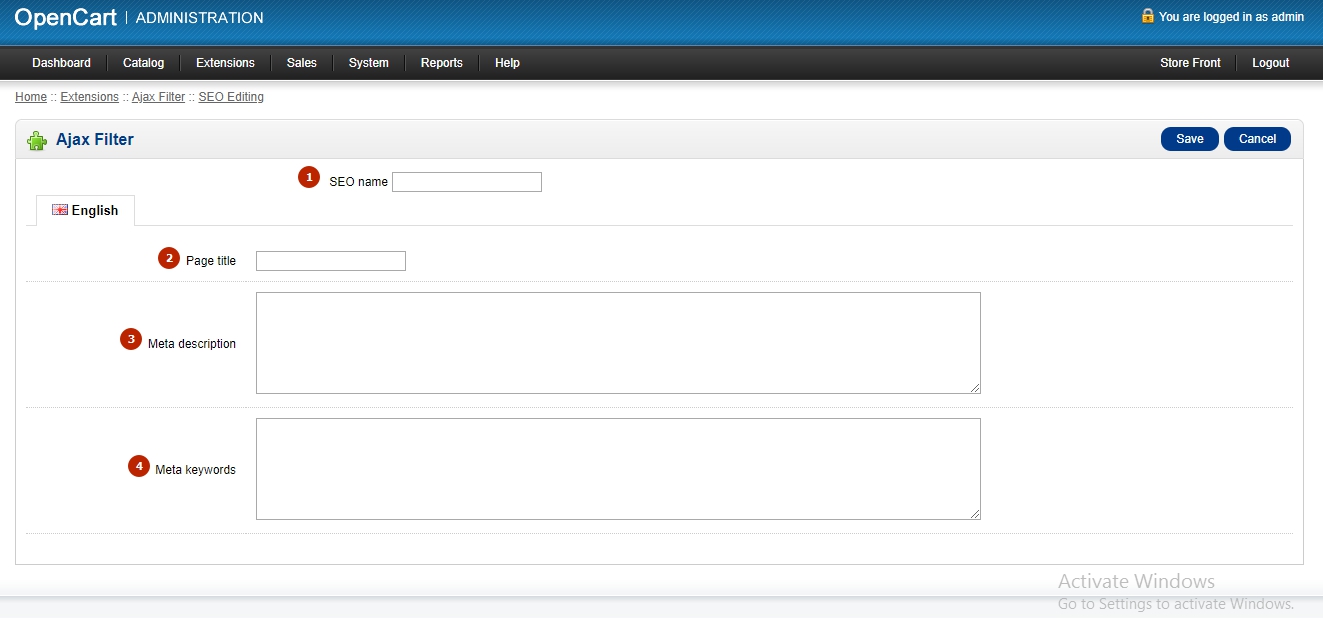
The SEO Editing page consists of fields:
SEO name (1) - to enter the SEO name of the filter page.
Page title (2) - to enter the title of the filter page.
Meta title page - to enter a meta tag for the filter page title.
Meta description (3) - to enter a meta tag for the filter page description.
Meta keywords (4) - to enter a meta tag for the filter page keywords.
Page description - to enter the description of the filter page.
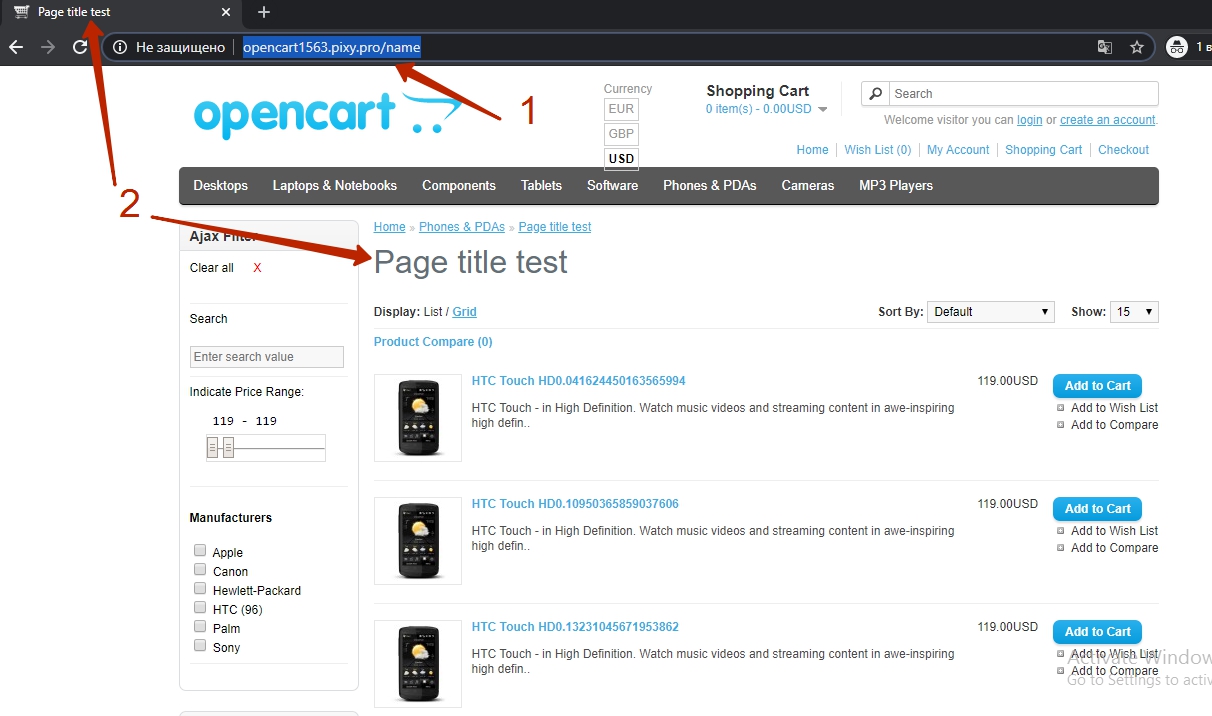
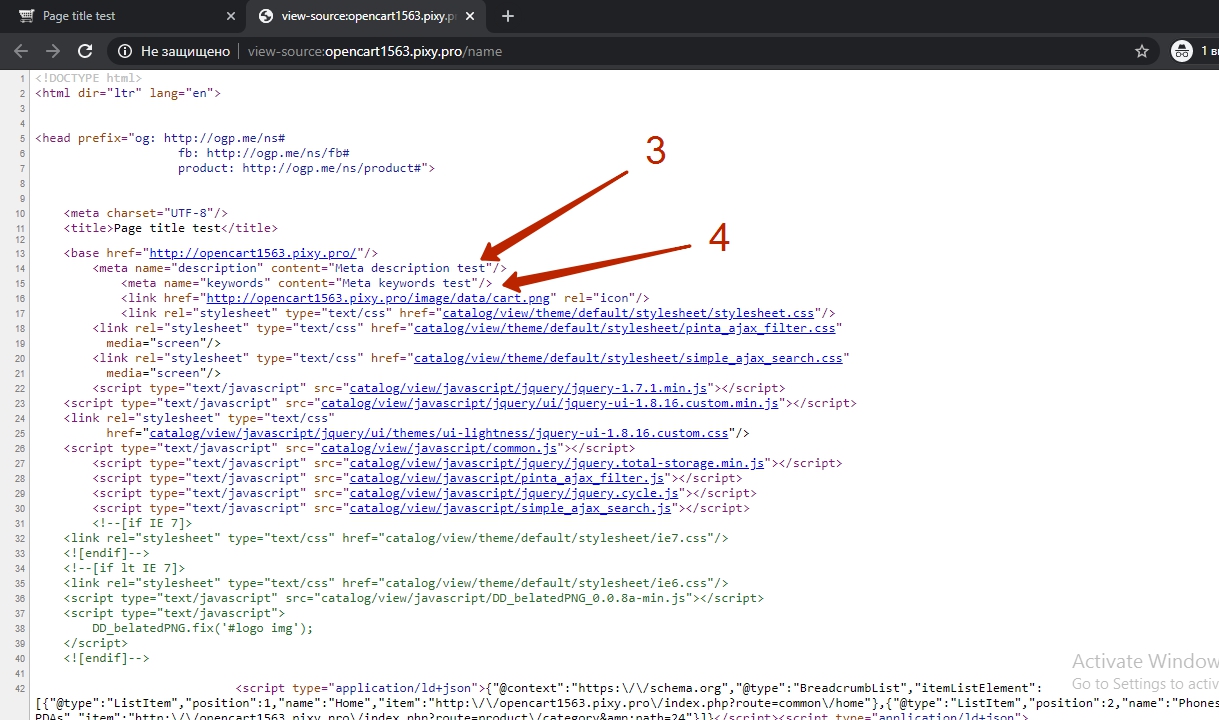
Display on the website:
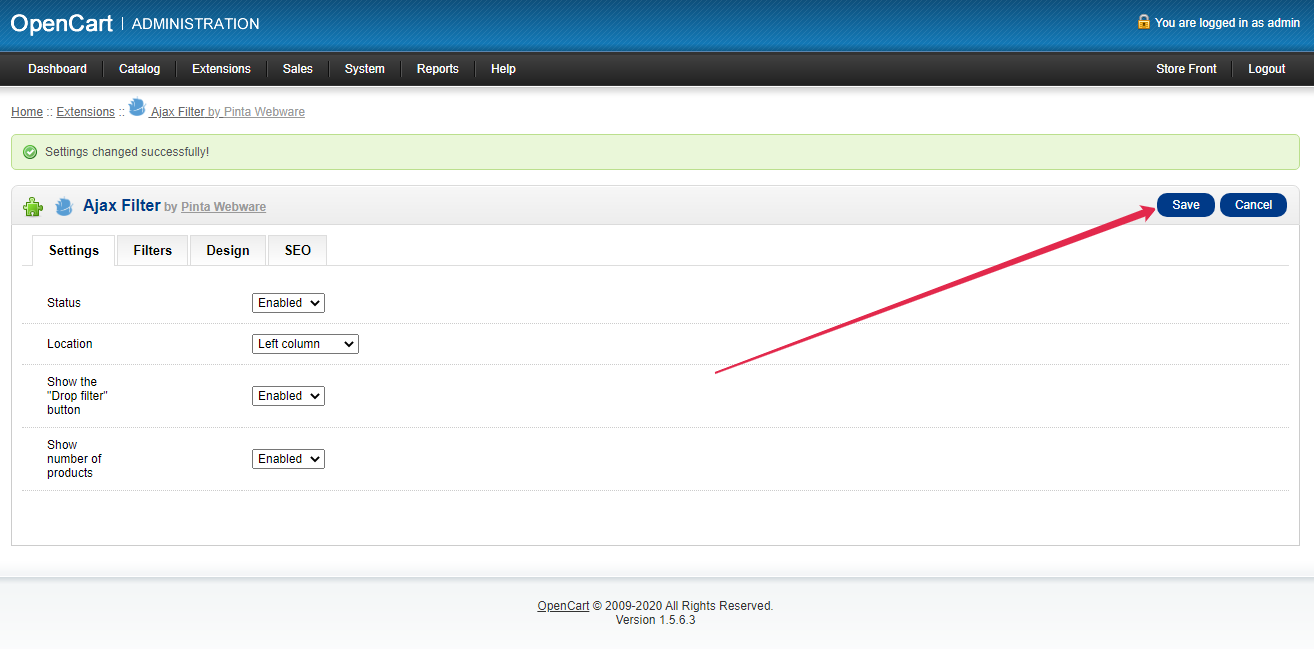
After editing, save the changes by clicking the Save button.
The Ajax Filter plugin is downloaded and installed.
Now customers can use a convenient and quick filter for sorting and searching products on your website.