Instruction Messenger Buttons for PrestaShop1.7
Download and install
Download the plugin archive from the Shop Pinta store and save it on your computer.
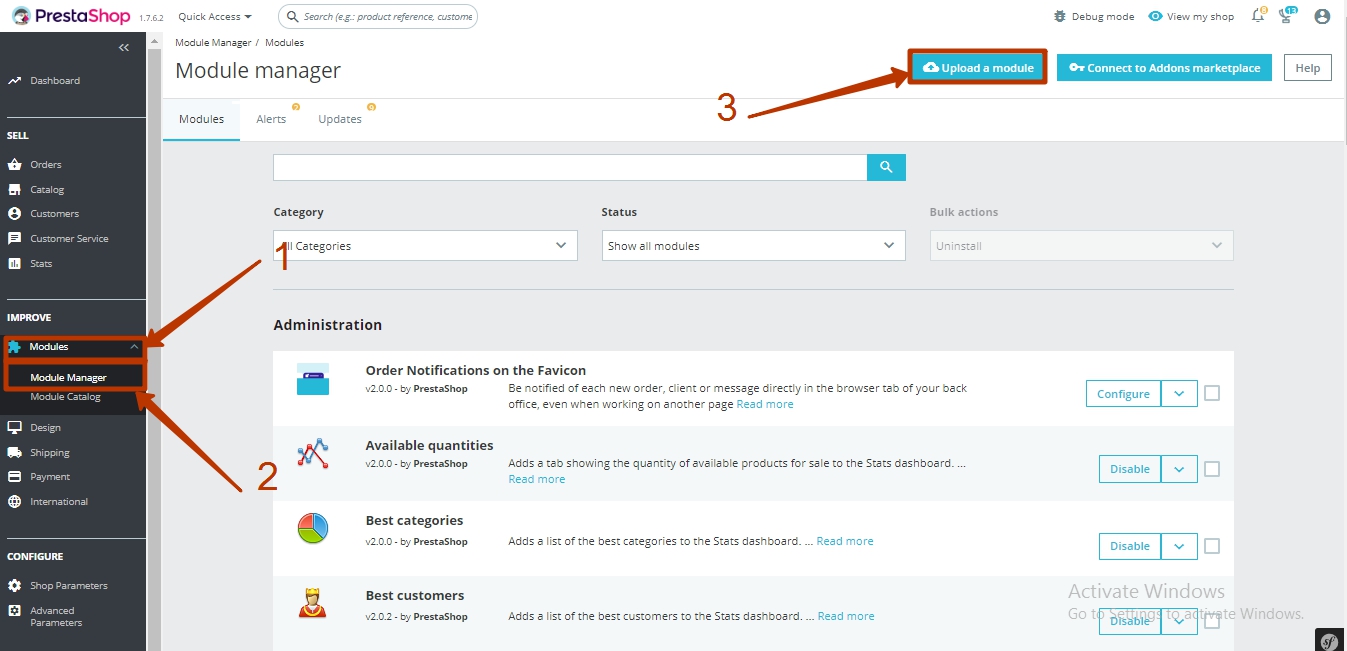
In the admin panel of your website, select Modules (1) > Module Manager (2).
Click the Upload a module button (3).
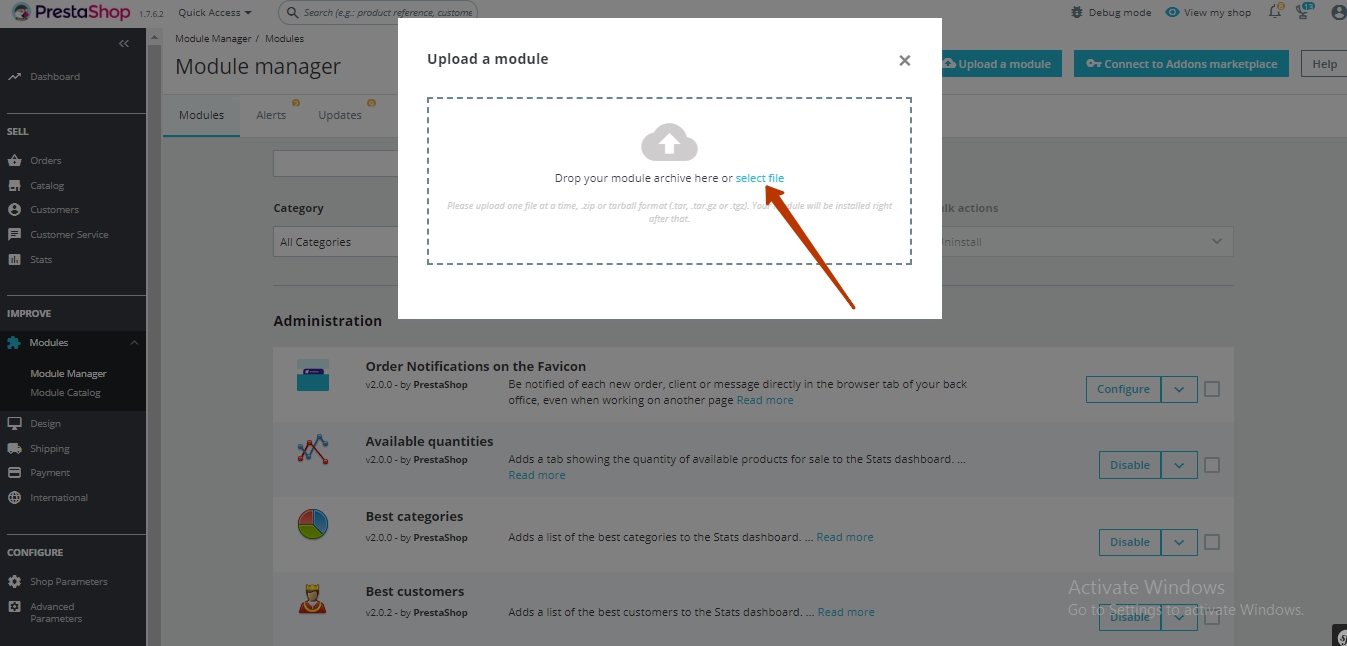
In the opened window, click on select file.
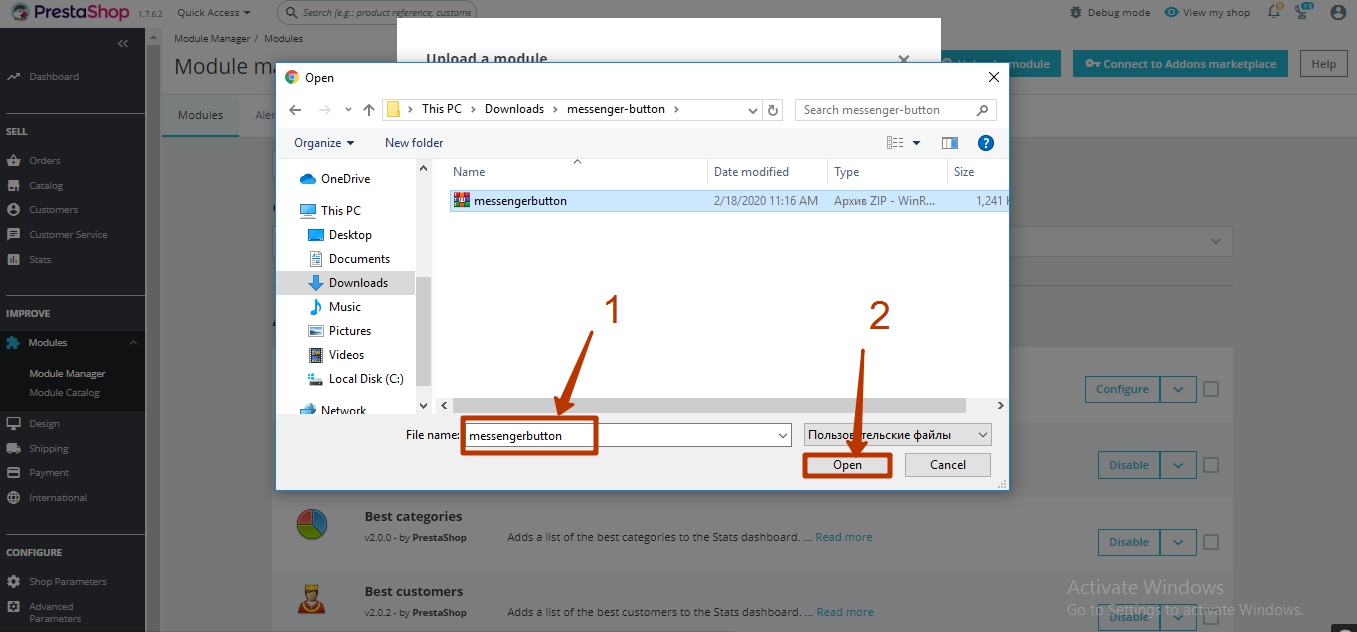
Next, select the plugin archive (1) and click the Open button (2).
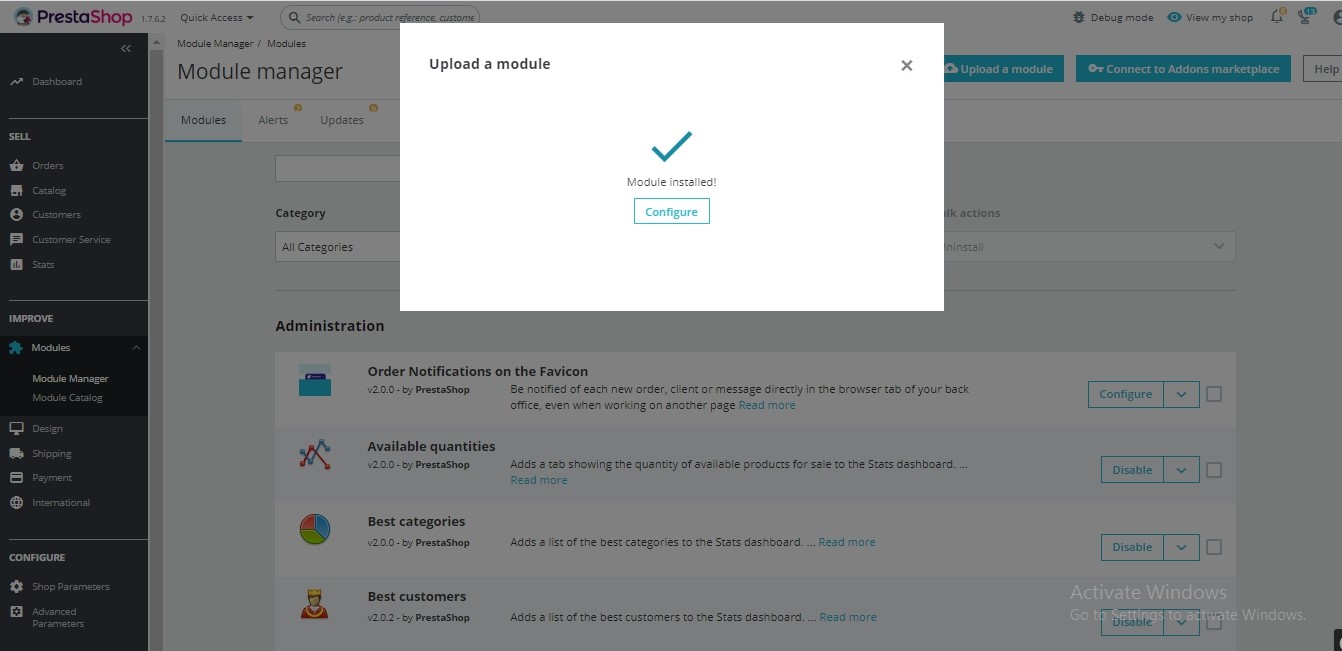
Wait for a message about "Module installed!".
To configure the plugin, click the Configure button.
Plugin page
The plugin page consists of:
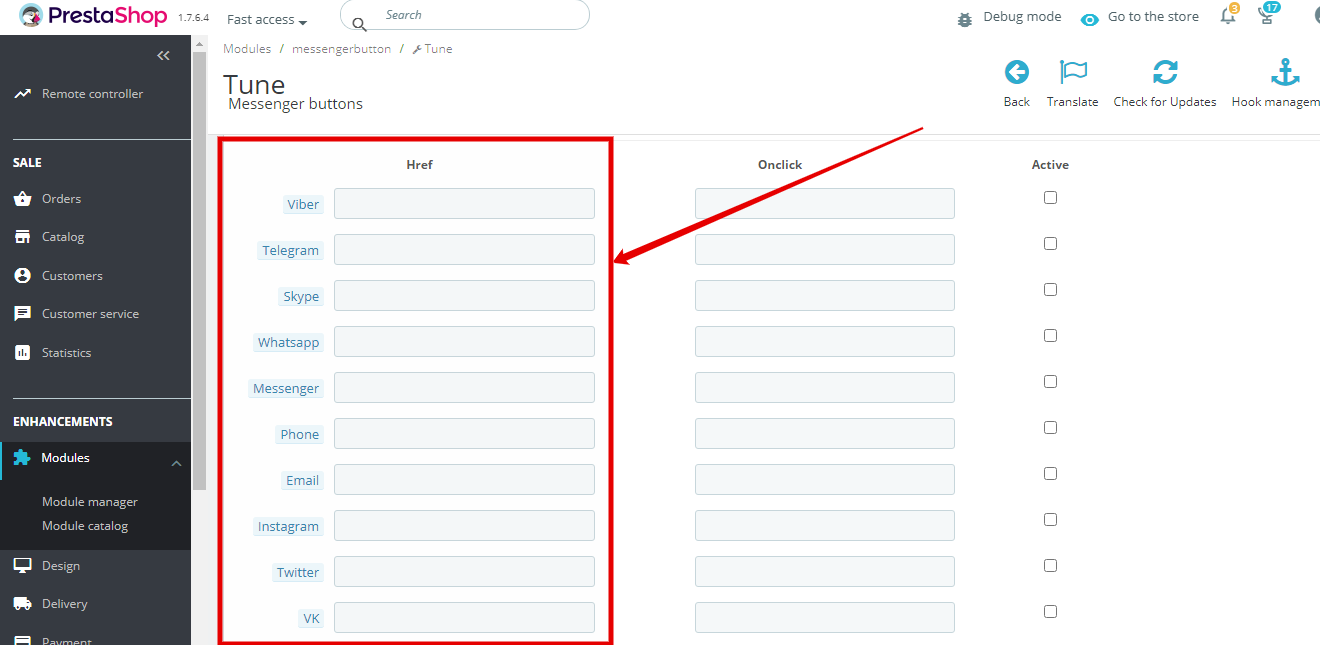
The settings table of messenger buttons - fill in the data for social networks that you want to use on your website:
The Href column - to enter your data (login, phone number, etc).
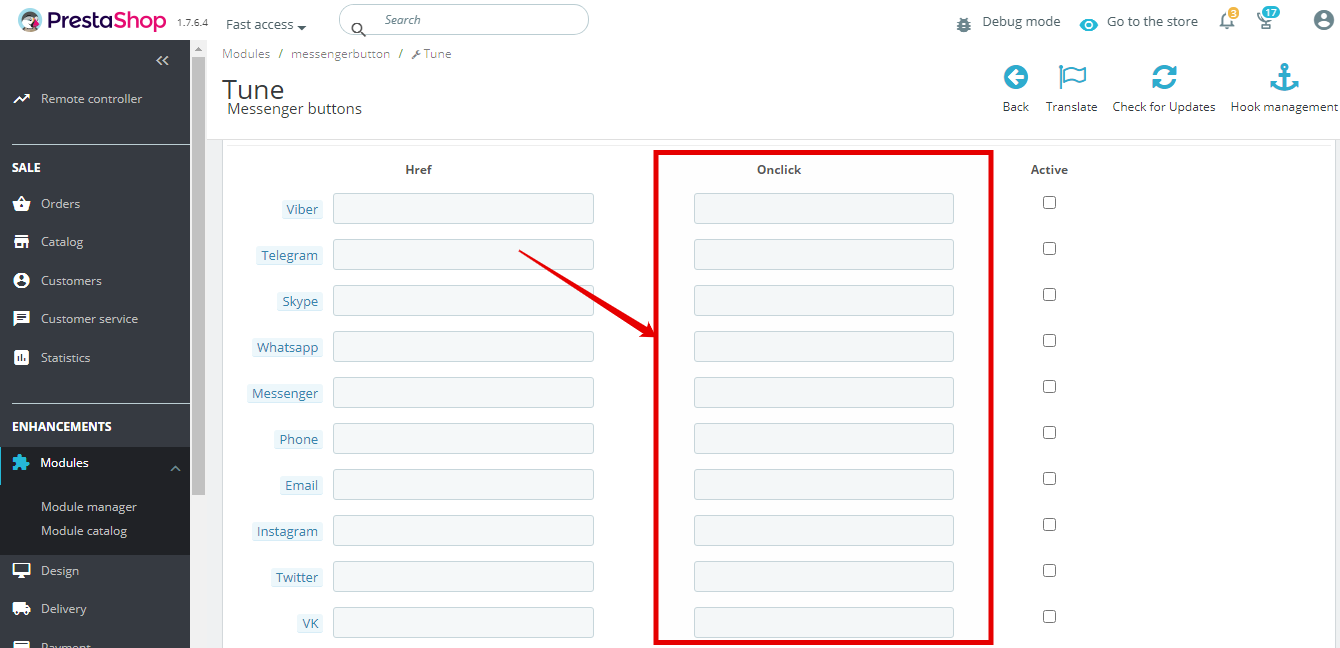
The Onclick column - to add a function to track the click numbers on the messenger button by users of your website.
Information about the button click numbers for each messenger will be transmitted to Google Analytics (the Onclick event).
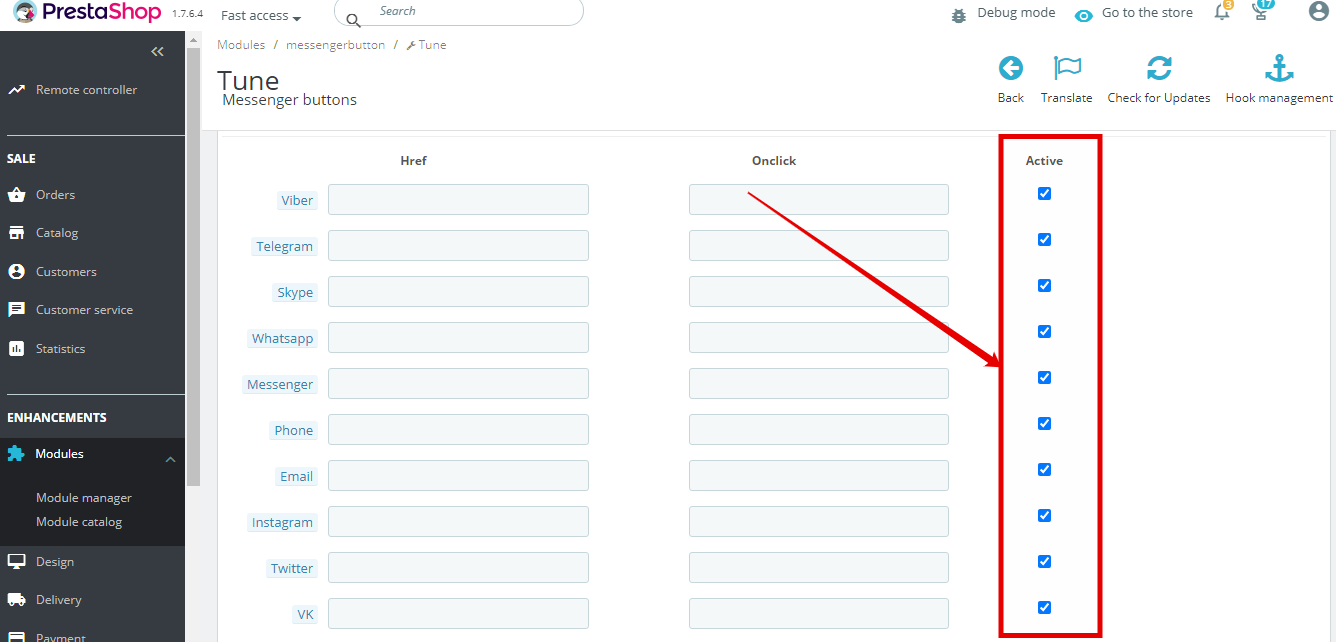
The Active column - to activate the messenger button, select the checkbox.
The Position field - to select the location of the block with messenger buttons on your website page.
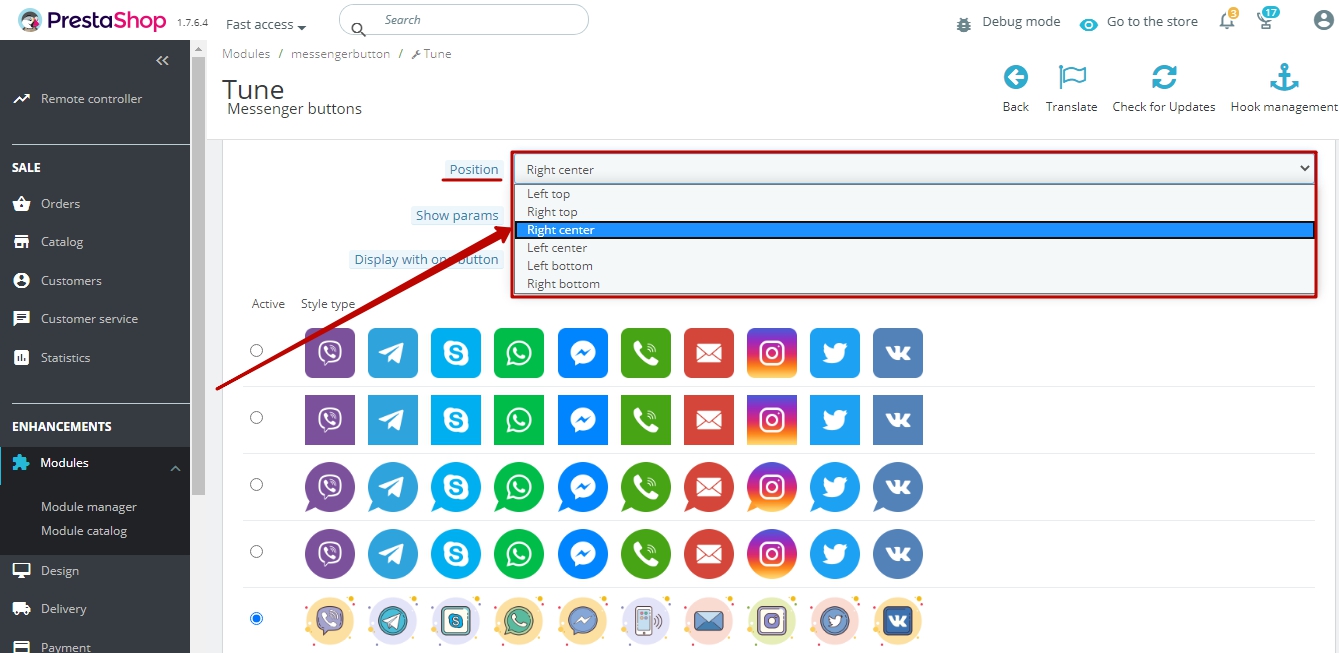
In the Show params field (1), select the YES position to choose the parameters of the block with messenger buttons:
The Margin field (2) - to select horizontal and vertical margins. These margins allow you to place a block with messenger buttons at a certain distance from the side of your website page.
The Padding field (2) - to select the distance directly between the messenger buttons.
The Width field (3) - to adjust the size of messenger buttons.
The Background checkbox (4) - select it if you want to change the background color of the block with messenger buttons.
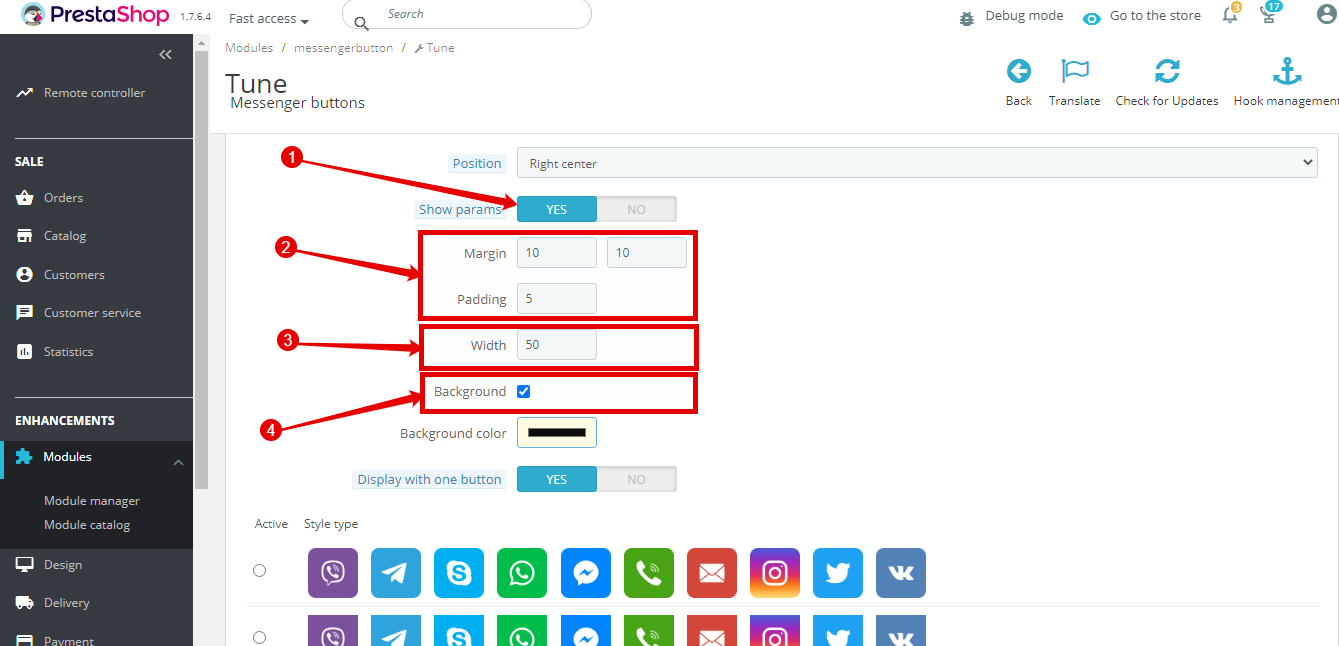
Next, select a color in the Background color field (5).

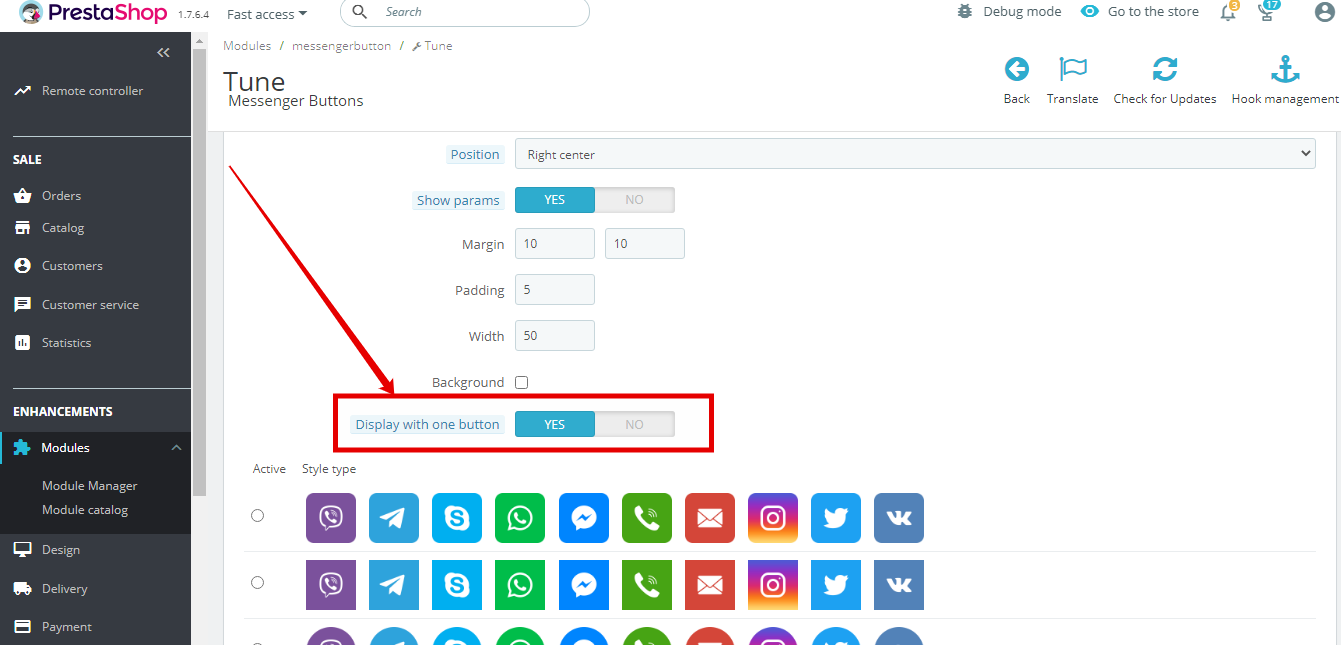
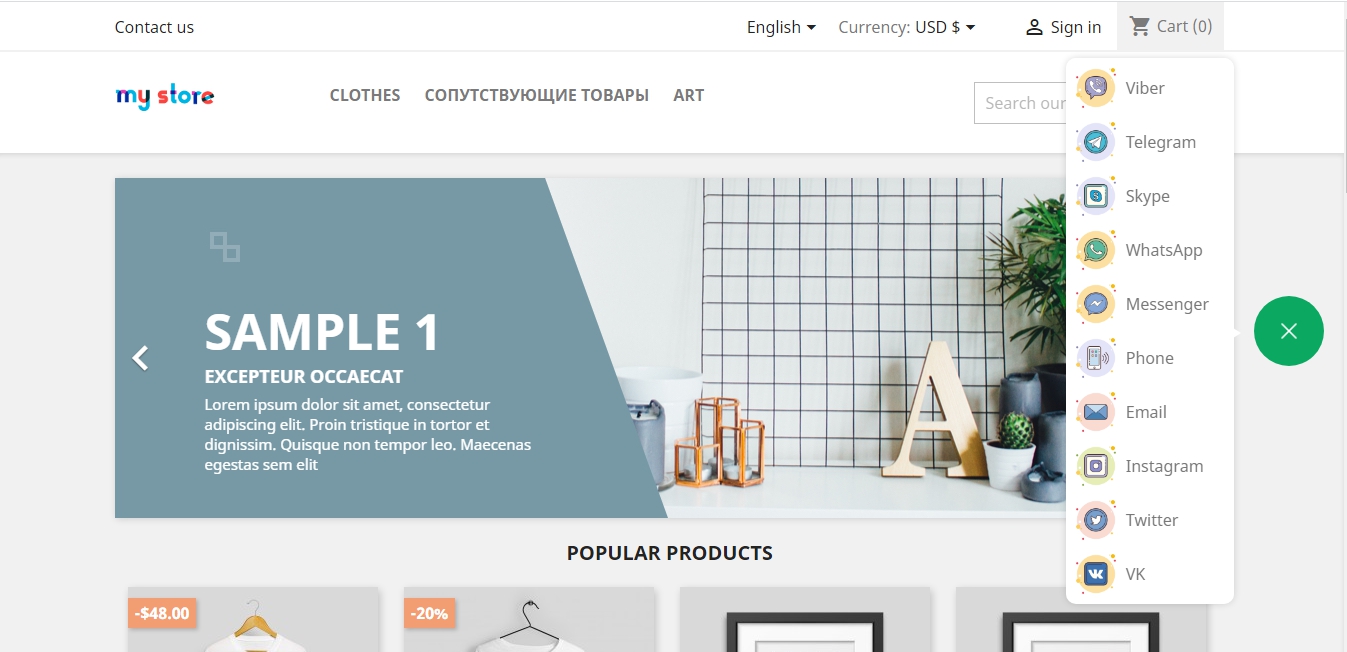
The Display with one button field allows you to choose the type of block with messenger buttons:
The YES position - to display one button on your website, after clicking on it a block with all active messenger buttons becomes available.
The NO position - to display a block with all active messenger buttons on your website.
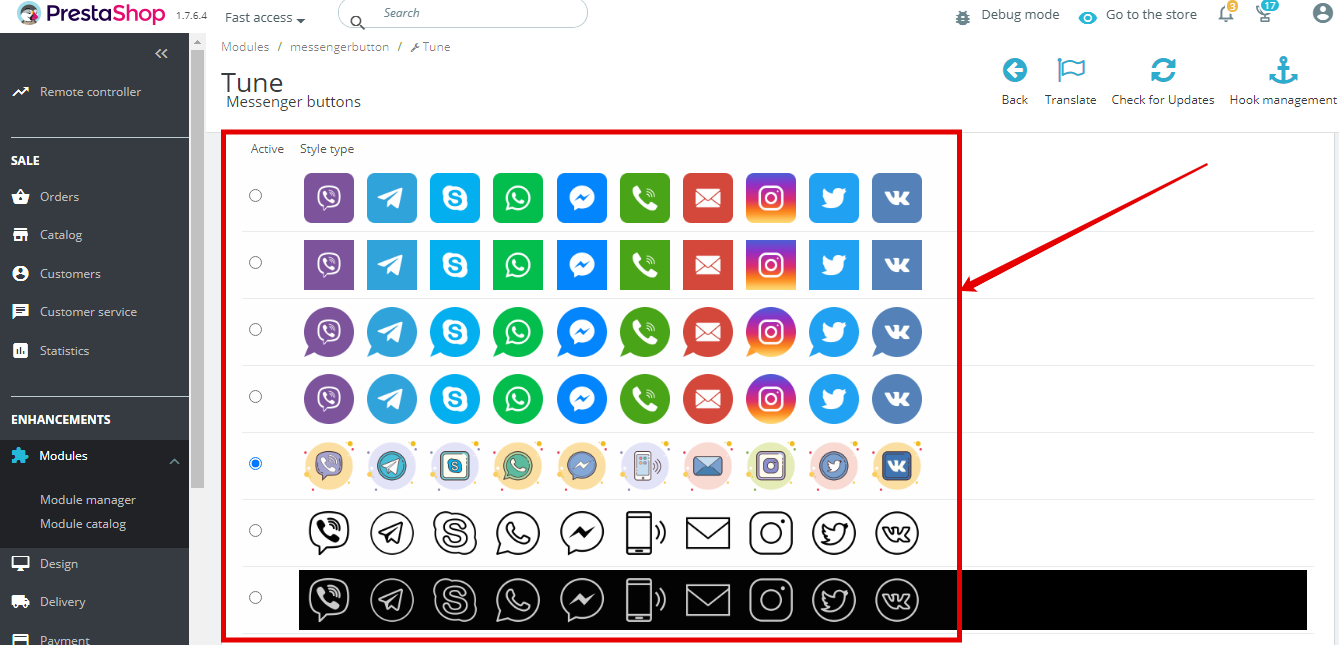
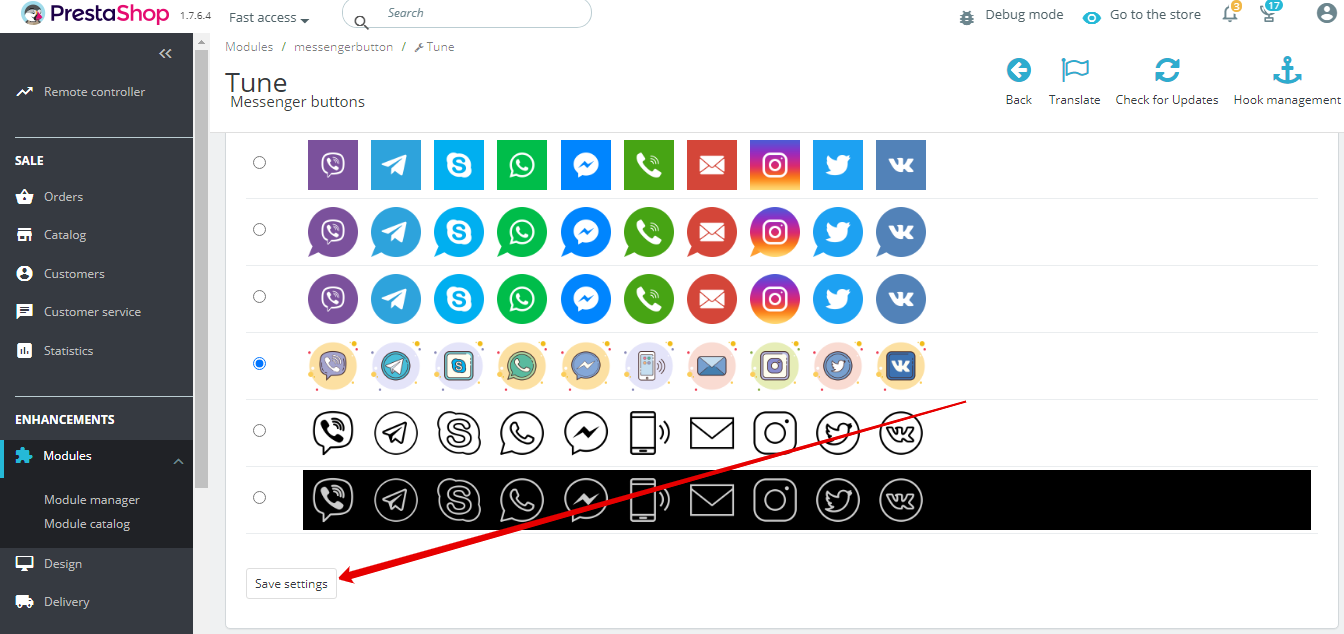
In the Style type block, select the style of social network icons.
After selecting the settings, click the Save settings button.
Go to your website and update it.
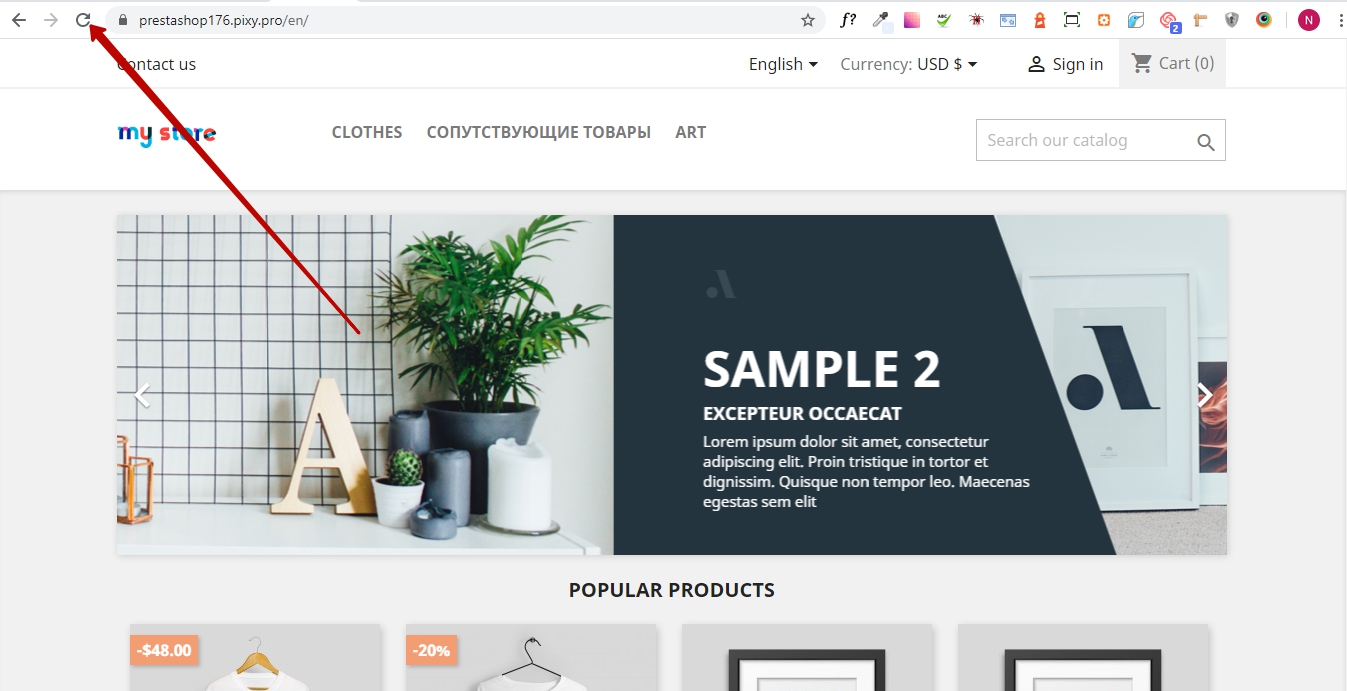
Now the messenger buttons are displayed on your website.
After clicking on the messenger button, a window will open for communication between the client and the administrator.
VIDEO INSTRUCTION